
With all the resources available at the Makerspace, the possibilities for what you can make are endless! We frequently host beginner-friendly workshops where you can learn how to use different tools and materials to create something amazing. Take a look at some of the projects that have been created here in the past, and feel free to contact us if you would like to suggest a workshop idea!
Tailoring Workshop
Workshop led by Mia Kim
We hosted open hours for a tailoring workshop using the Makerspace sewing machine. Participants brought in garments they wanted to repair or alter, and Mia helped guide them through common tailoring techniques. Most projects involved repairing rips and hemming jeans or dresses, though we also had some unique requests, such as sewing biking gear into clothing for added functionality.

Participants learned how to properly thread the sewing machine, including both the needle and the bobbin, and how to use the machine’s digital interface. We explored how to select and adjust different stitch types, as well as how to modify settings like thread tension and stitch length depending on the fabric and repair needed. For most repairs we used a straight stitch to sew the main seam, and then used a zigzag stitch to lock the seam in place and prevent fraying.

Participants practiced sewing straight seams and experimented with different stitch styles to understand when each might be useful for repairs or alterations. The workshop gave people hands-on experience using the sewing machine while learning practical skills for maintaining and customizing their own clothing!

Design Day 2025 Installation
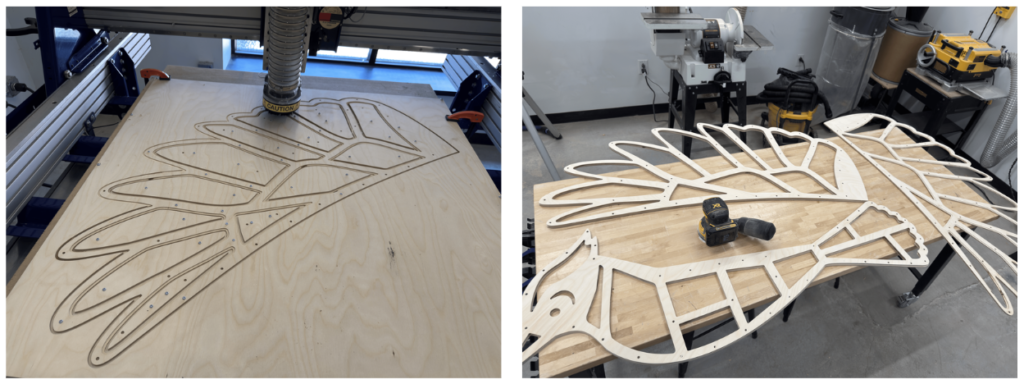
This installation was commissioned by the Engineering Design Center for Design Day 2025. The project went through many rounds of ideation and prototyping to make the vision come to life. The goal was to use a pulley system to articulate the wings of a Blue Jay.

The body, head, and wings of the bird were cut from plywood using our CNC router. Each piece was cut twice so that the final result could have a frame effect. The pieces were sanded with an orbit sander in our wood shop.
The blue acrylic which was used to fill the wooden frames was cut using our laser cutter.
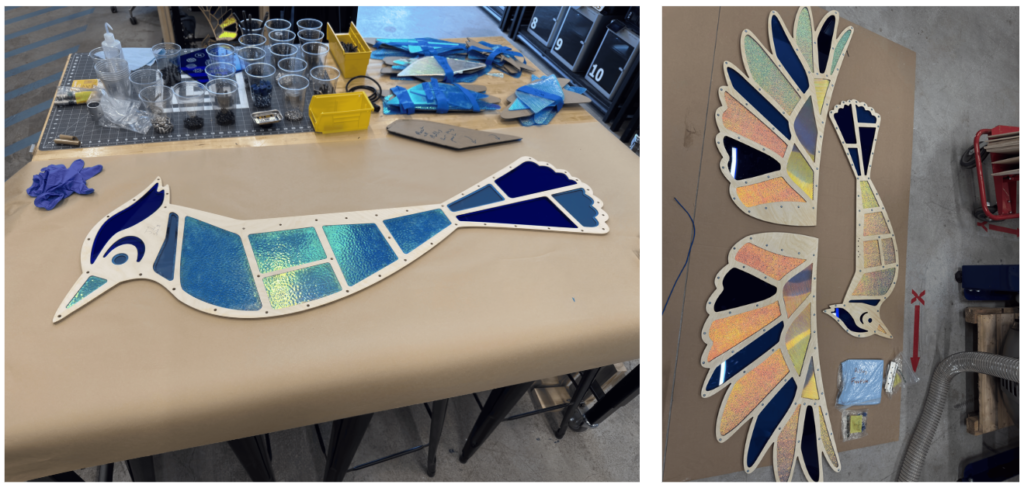
The bird’s motion was powered by a stepper motor. The motor was attached to a pulley system, so that as the motor rotated, the motion would translate to the wings moving up and down. The stepper motor was attached to a motor controller and power supply. This was all held in place with a metal housing, fabricated with the waterjet at the WSE machine shop. The casing for the motor controller and the spacers for the housing were 3D printed. An acrylic decorative piece was laser cut and attached on the front.

The final result was held up on a stand and displayed during Design Day!
3D Printer Air Emissions Experiment
This project involved comparing the rates of VOC (Volatile Organic Compound) emissions from virgin thermoplastics to their carbon fiber reinforced counterparts. The printer used for this project was the Lulzbot Cura Mini 2. It offered a good range of nozzle temperatures which aided in testing various thermoplastics. Eight thermoplastics were used: virgin ASA, PETG, Nylon, PC, and carbon fiber versions of each of them.

To measure VOC emissions over time, this TVOC and eCO2 sensor from Adafruit were programmed using a Circuit Playground Board. The sensor measured TVOC and eCO2 every second and this data was sent into a CSV file for making graphs and analysis.

The set up for the experiment used a cardboard box for the enclosure. On the bottom corner, a PVC pipe was fixated to create a place for the sensor to read air quality. For testing, each filament was used to print 100g. This procedure was repeated twice for each filament and averages were taken. The results showed statistically insignificant differences between the TVOC and eCO2 measurements between carbon fiber and virgin thermoplastics.
Iron-On Clothing Design Workshop
In this workshop, students used our Roland BN-20A Vinyl Printer and Cutter to print a design of their choice onto a heat transfer vinyl sheet.

The designs were printed and then ironed on to a clothing item everyone chose. The heat from the iron activates the adhesive backing on the vinyl, bonding it to the cloth. Heat transfer vinyl designs can typically last for up to 50 washes, making them a great option for customizing clothing!


Design Day Sign
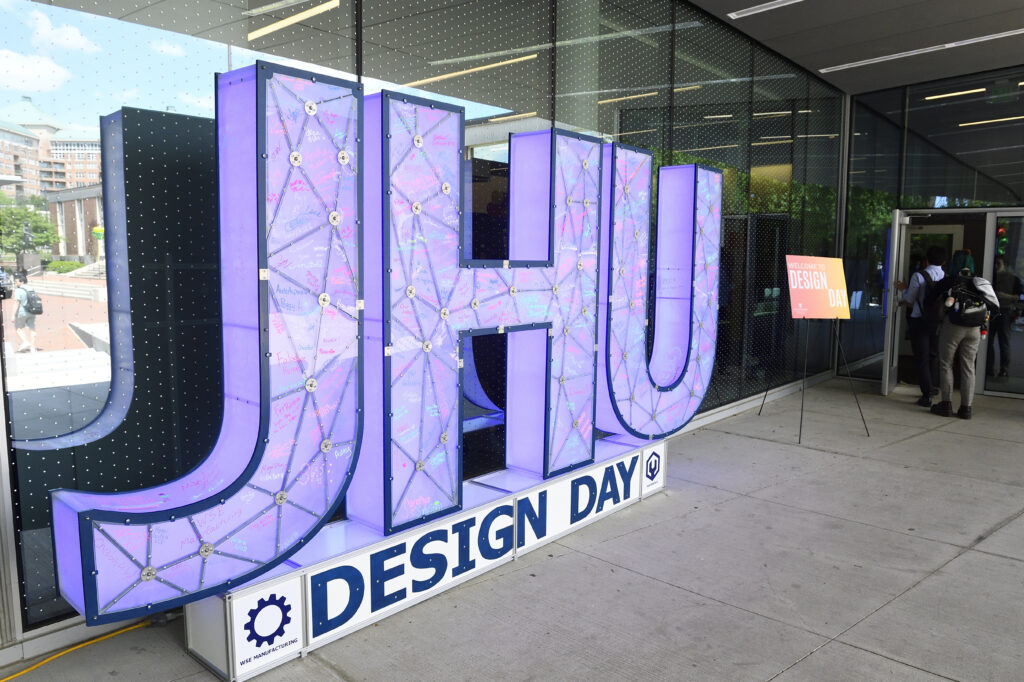
This project, sponsored by the Whiting School of Engineering, was a collaboration between WSE Manufacturing and the JHU Makerspace, with the goal to create an interactive sign to celebrate Design Day 2024.
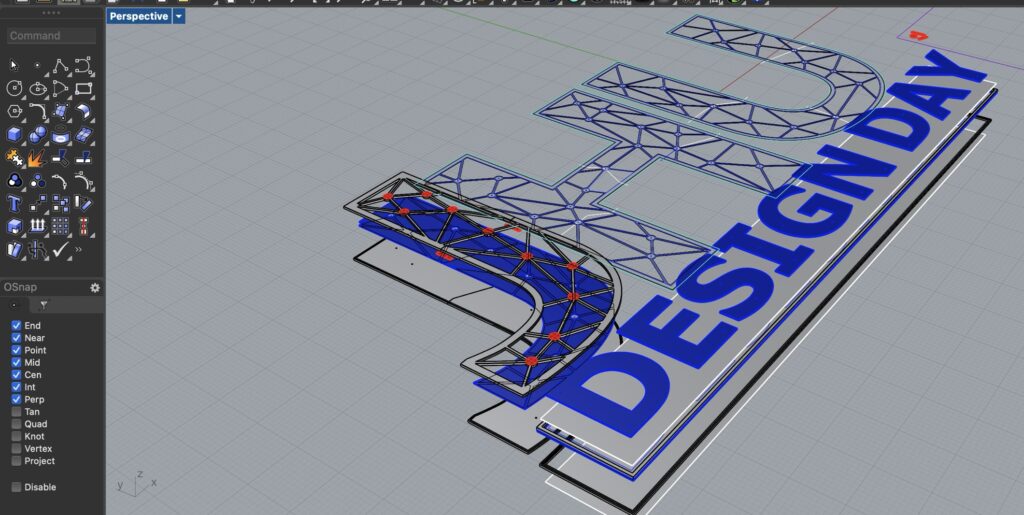
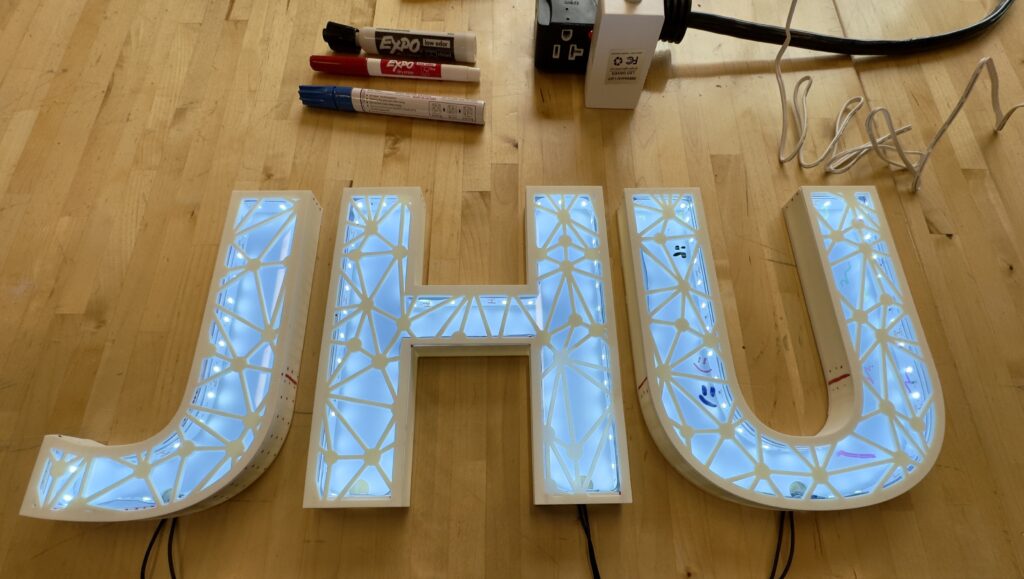
The idea was to make a large-scale sign to spell out “JHU”. We began the process of creating the sign by designing the letters in CAD.
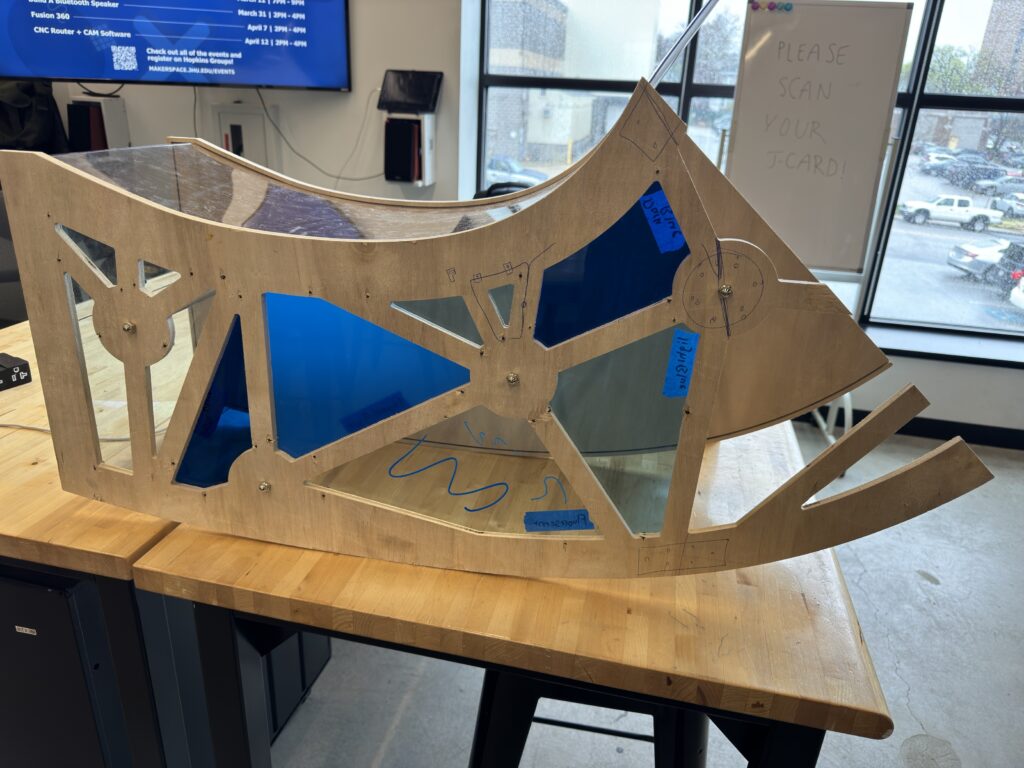
Before ramping up manufacturing, we 3D-printed a miniature version of our design and adjusted the web pattern on the front of the letters. We fabricated a full-scale section of one of the letters to test fit the polycarbonate sides, acrylic panels, and custom hardware.
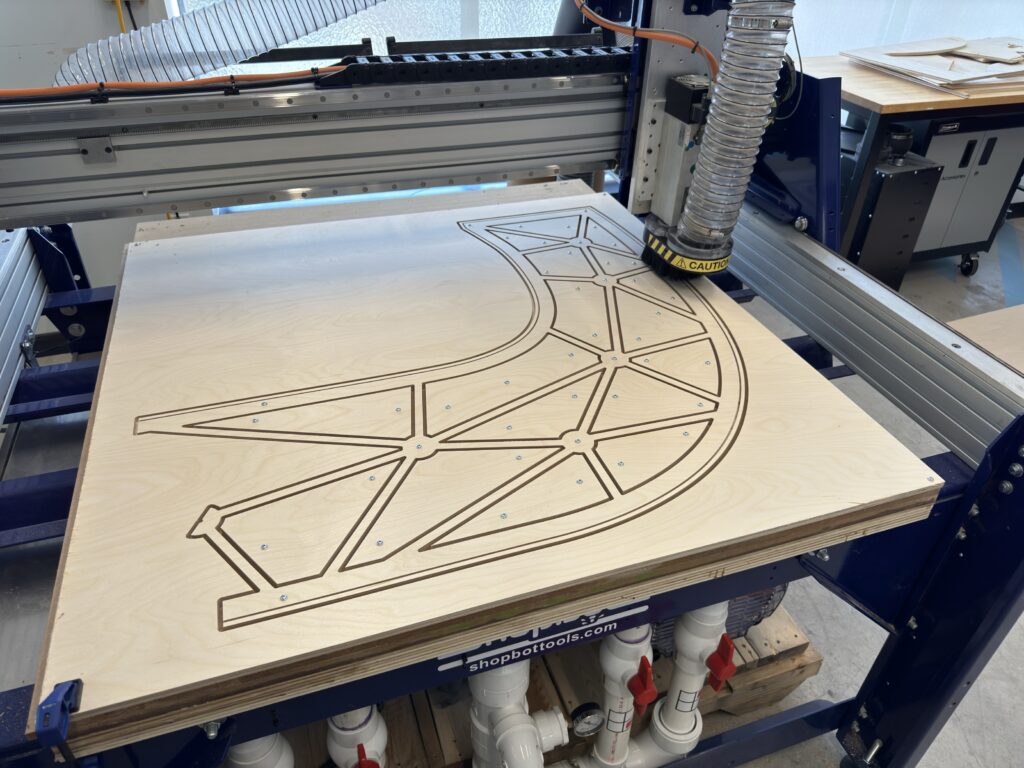
The parts of the sign were fabricated using a CNC router and laser cutter. The back of the sign and the front webbed frame were cut out of cabinet-grade plywood on our CNC router. The acrylic windows on the front were cut to match the frame using our laser cutter, and the panels on the side were custom-folded polycarbonate.

All of the metal brackets used to assemble the pieces were custom-designed and cut out using the water jet at WSE Manufacturing. Additionally, we 3D printed hardware out of ASA filament to align the acrylic panels with the edge of the frame.
Finally, once all the pieces had been made, it was time to assemble the final product. First, test pieces were assembled using small sections of the sign. The front and back frames were attached with metal standoffs, and lastly, the acrylic panels were screwed on to the front of the plywood frame.
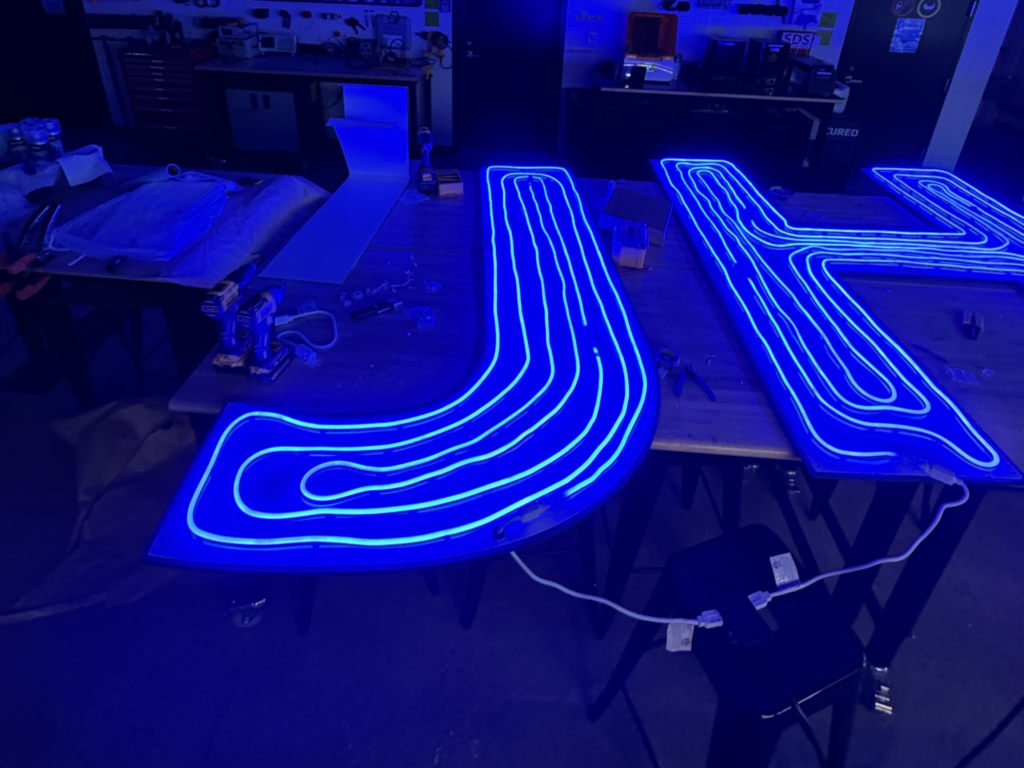
The wooden frame was painted Hopkins blue, and LED tubing was secured onto the back panel.
The last step was to put together the final product! Each of the letters was assembled at the Makerspace, and a rectangular base was also assembled to support the JHU letters.

The sign looked amazing at Design Day! Students were able to sign their names and take pictures in front of the sign, creating a lasting memory of Design Day 2024.
Special thanks to the individuals listed below for their hard work and contributions to this project:
WSE Manufacturing Department
Rich Middlestadt
Luke Ikard
Elizabeth Logsdon
Chris Gunther
Jenna Frye
Seth Jayawardane
Shira Goldhaber-Gordon
Chloe Pak
Dannica Sims
Rhea Nelson
Patrick Dass
Kinetic Art Workshop
Workshop led by Samuel Lihn and Seth Jayawardane
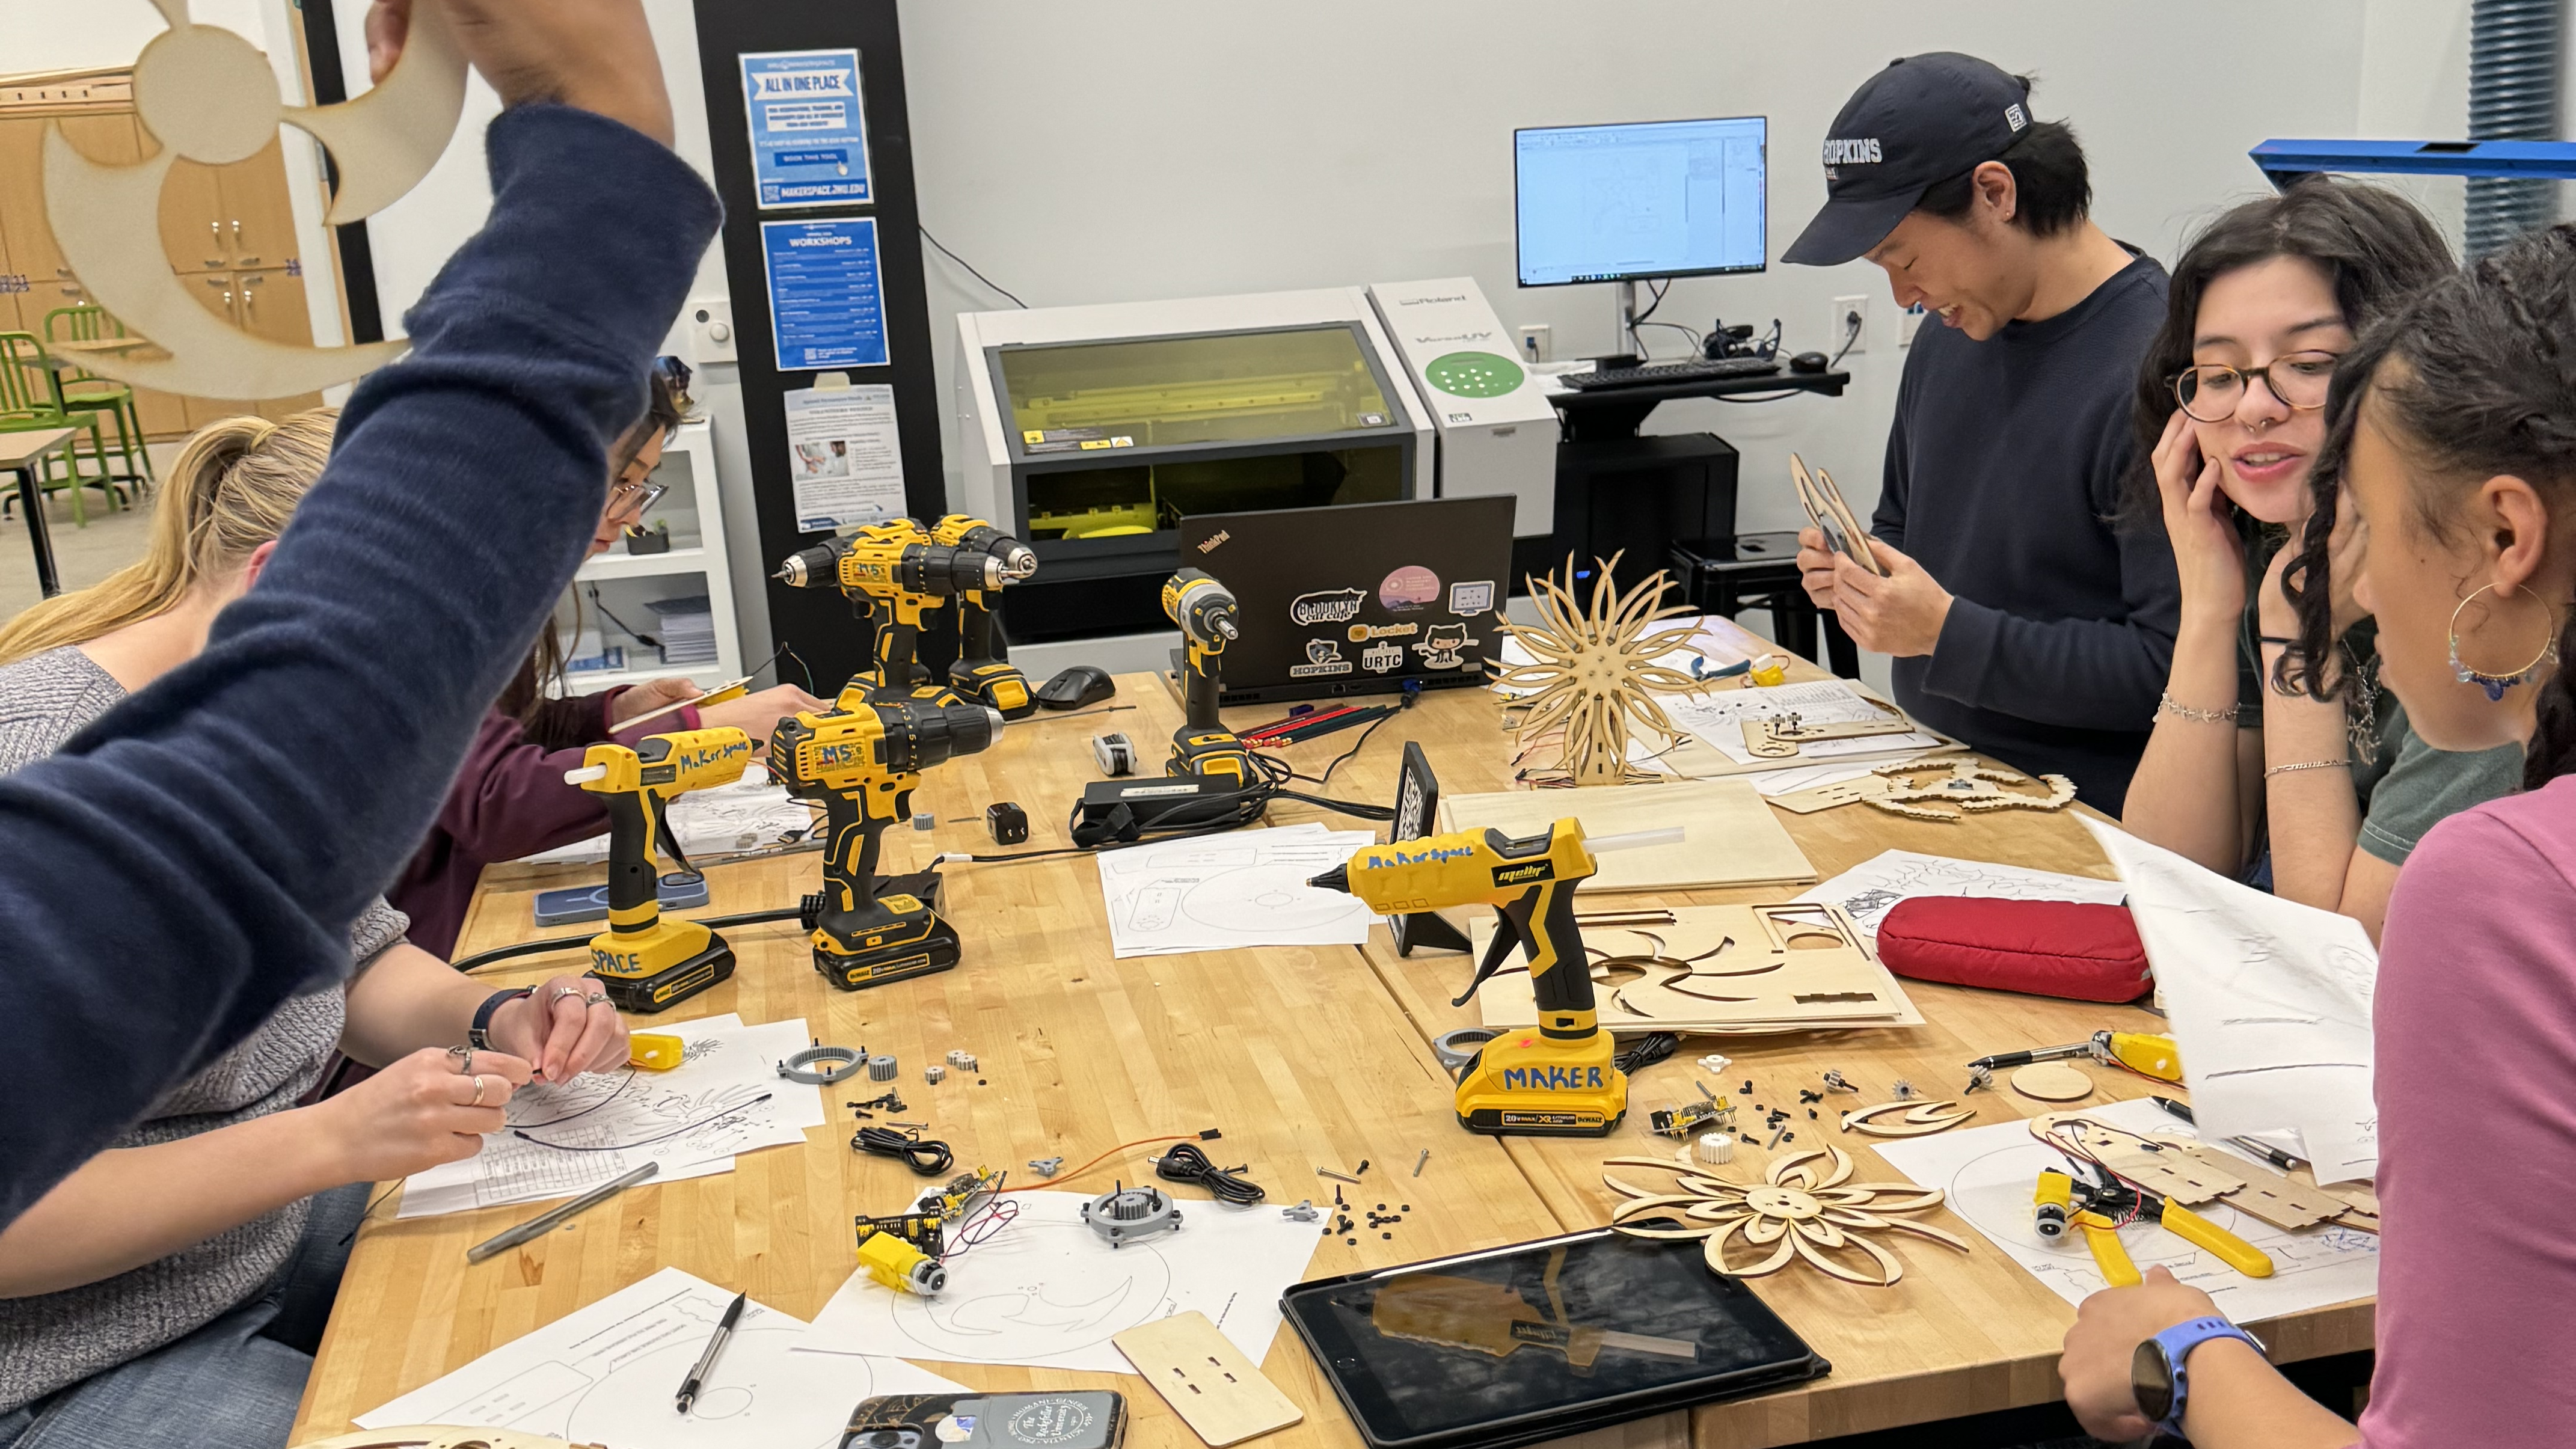
In this workshop, a collaboration between the Makerspace and the Pava Marie LaPere Center for Entrepreneurship, participants were able to design and build their own kinetic artwork!
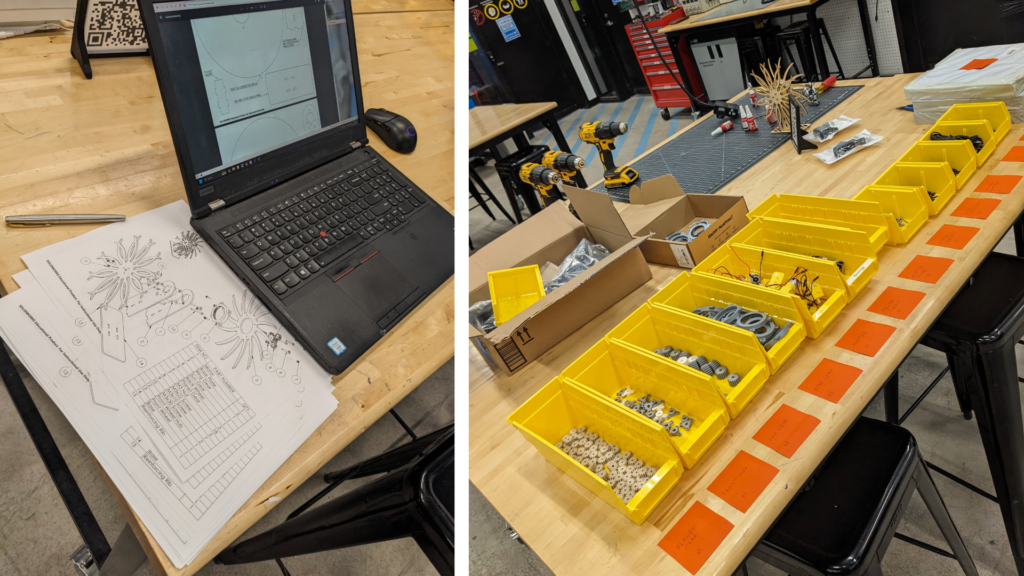
Kinetic artwork involves a moving design, creating an interesting visual effect for the viewer. In this workshop, we made kinetic art by spinning two parallel disks at different speeds.
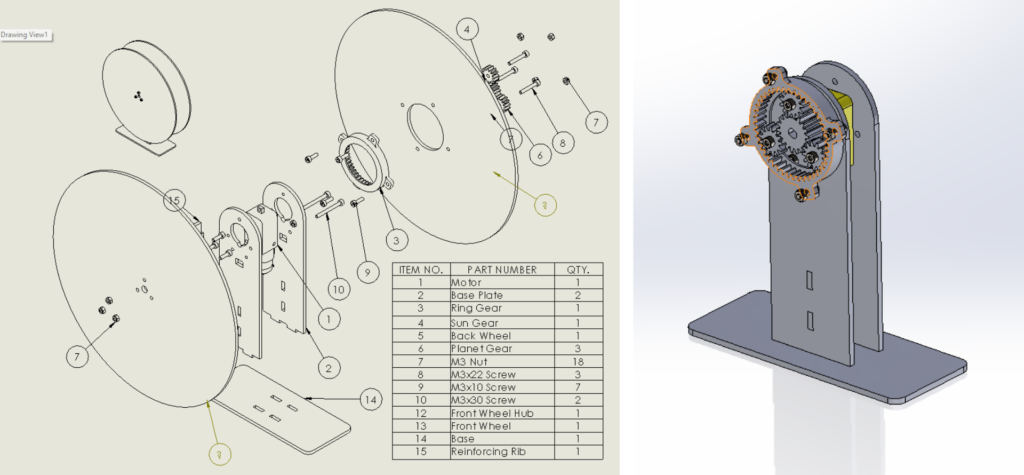
A stand, which was designed in Solidworks, was assembled to hold the disks and spin them. 3D printed gears attached to a motor inside the stand made each disk spin at a different speed due to the difference in gear ratio. The frame of the stand was laser cut with wood.
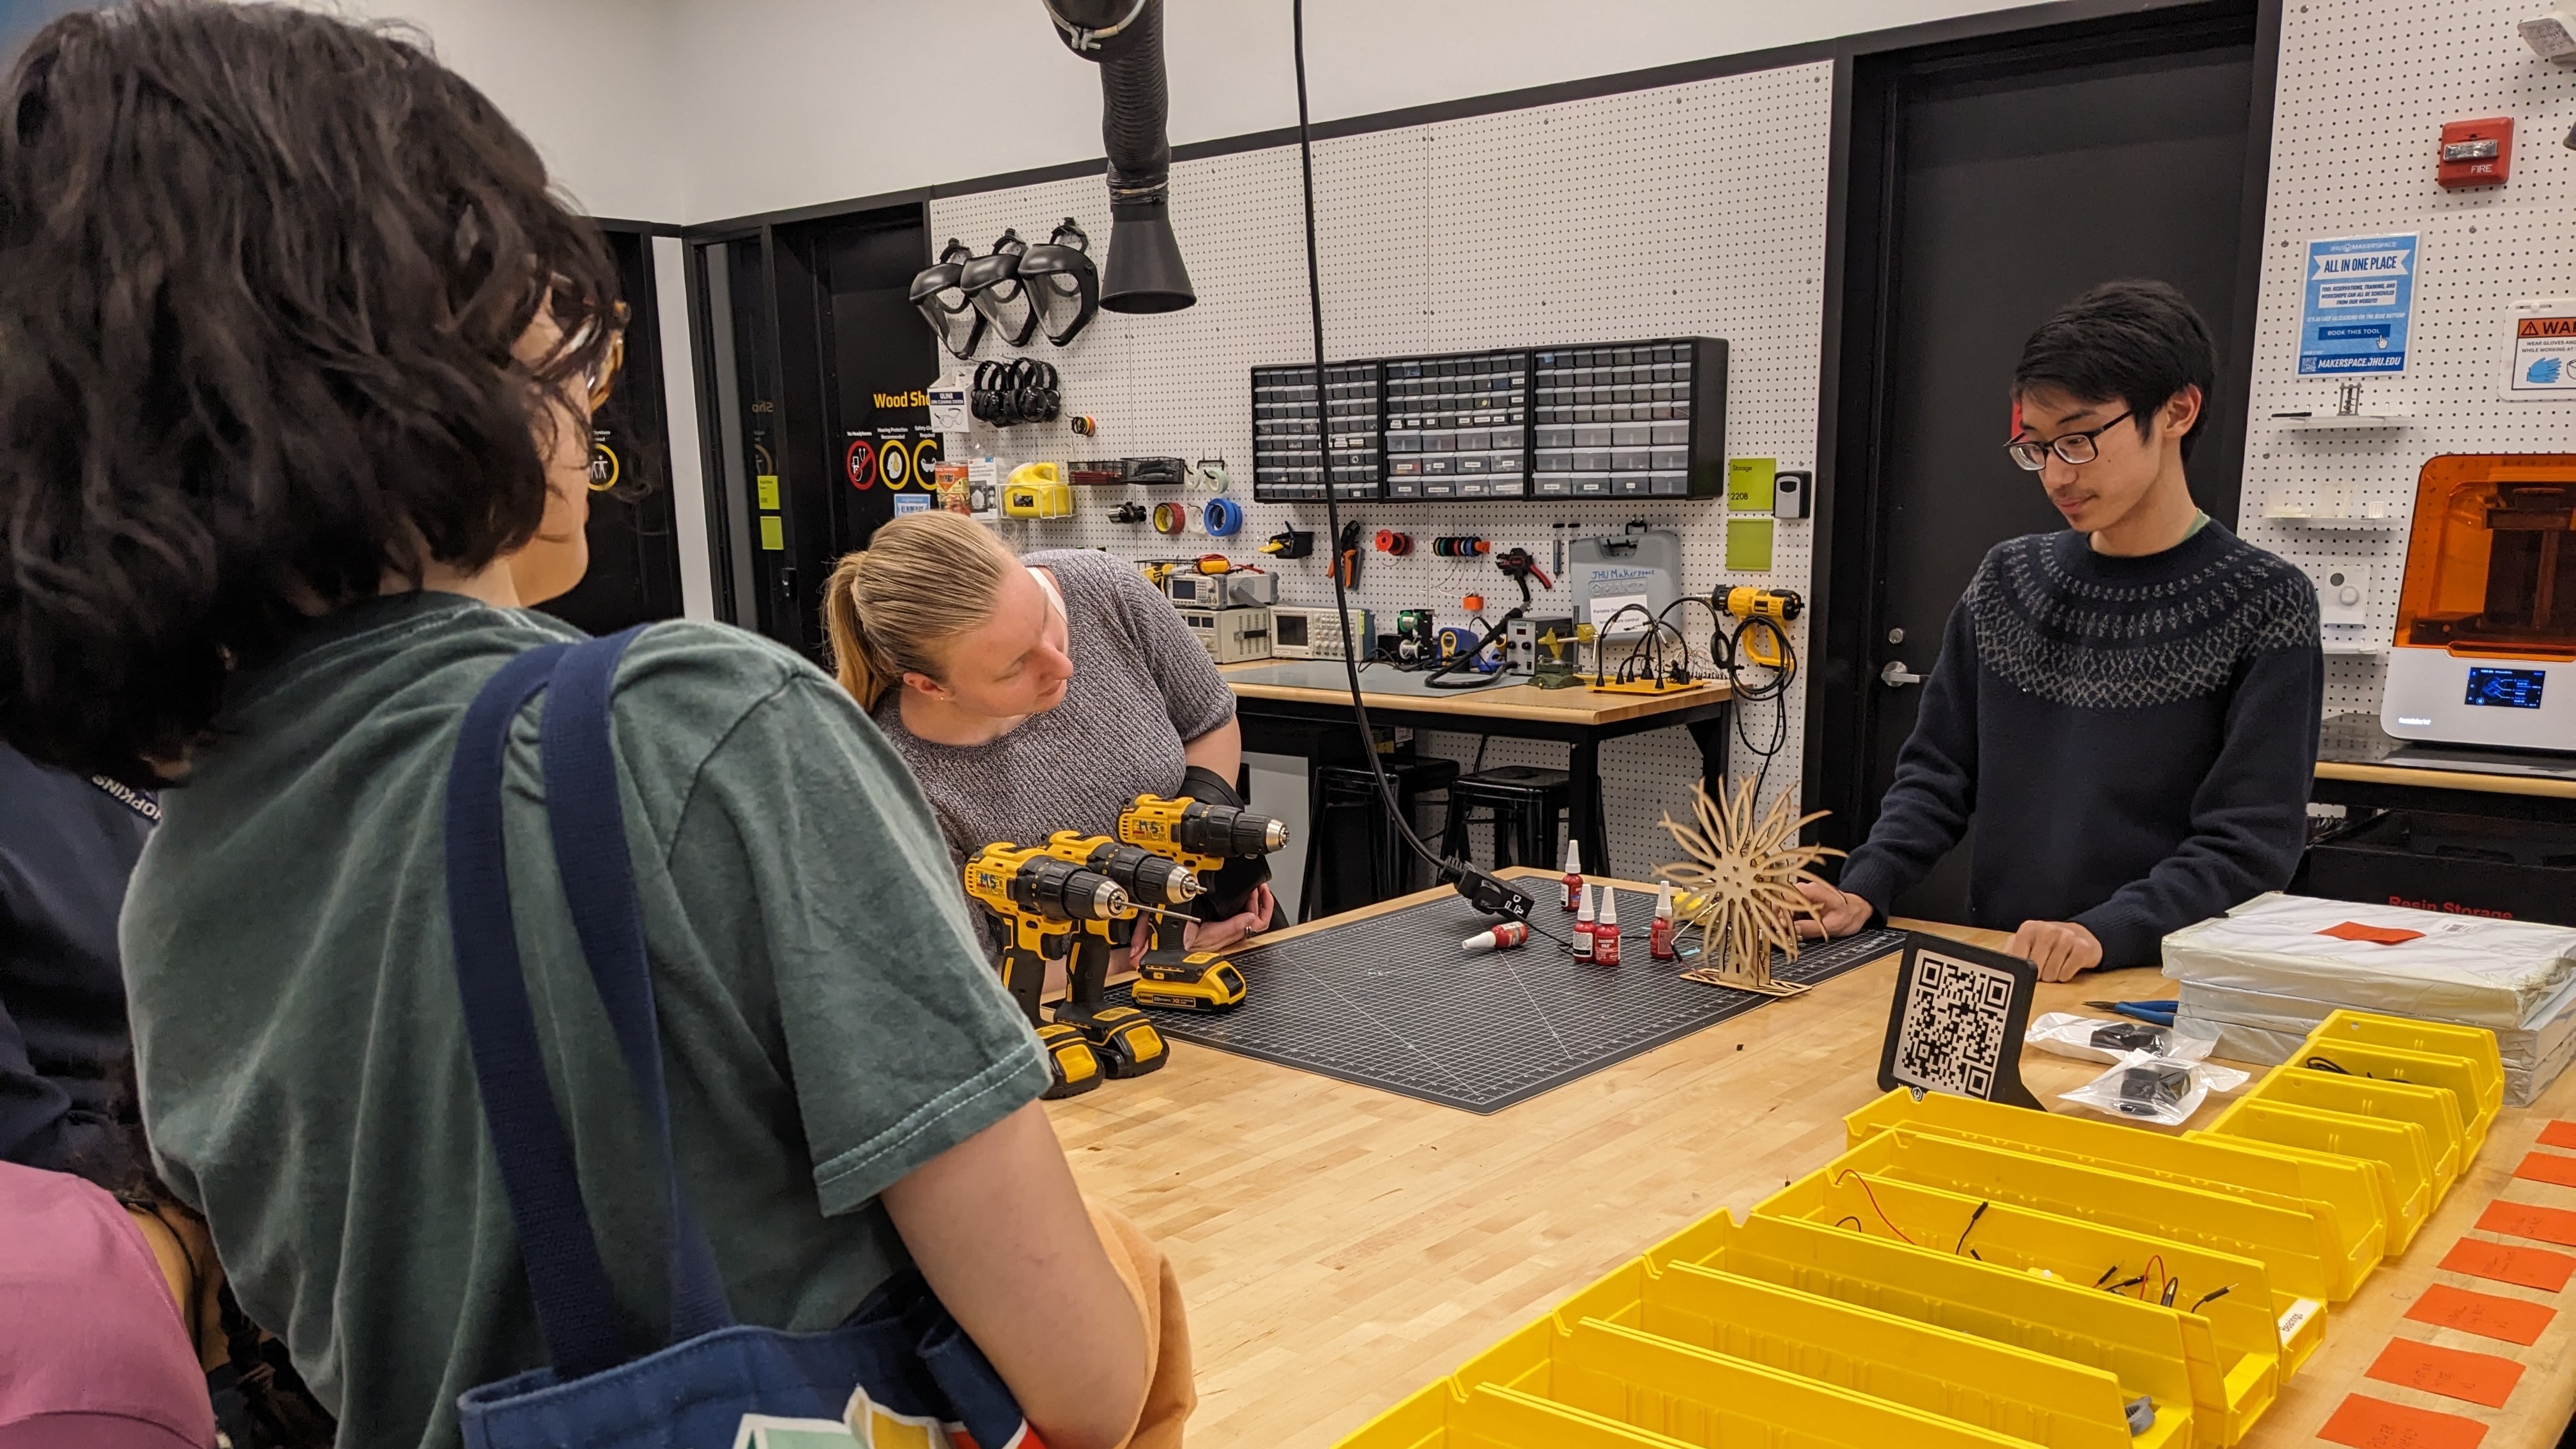
Each participant drew their own design that was laser cut onto the spinning disks. When everything was assembled together, an amazing visual parallax effect could be seen!
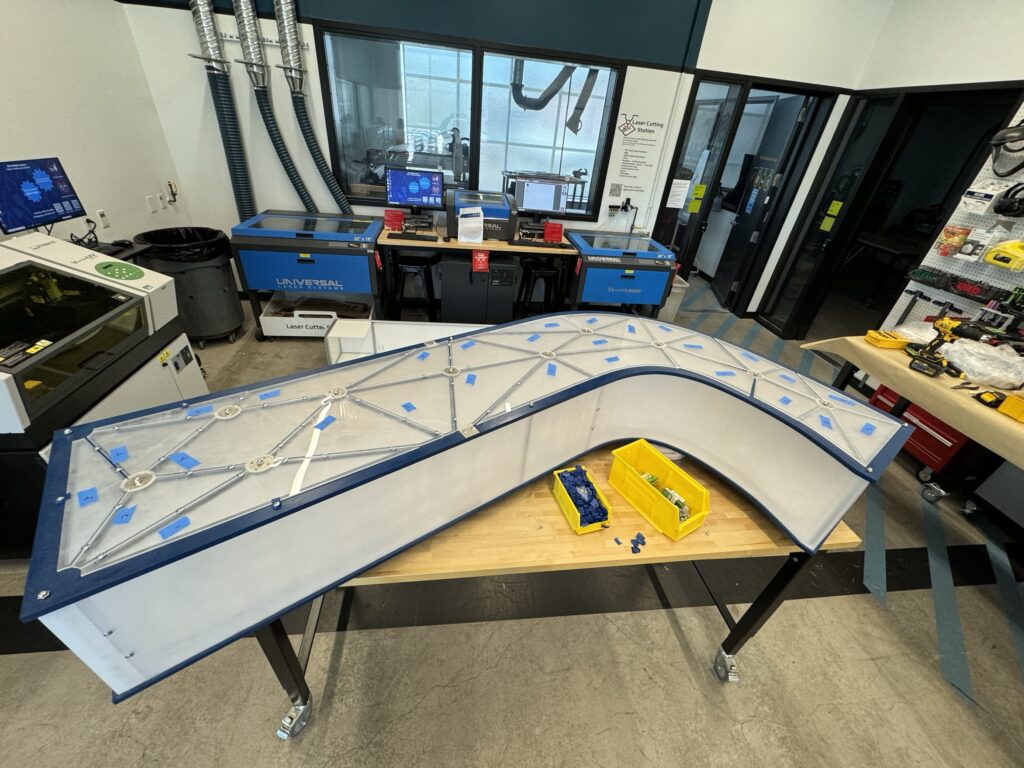
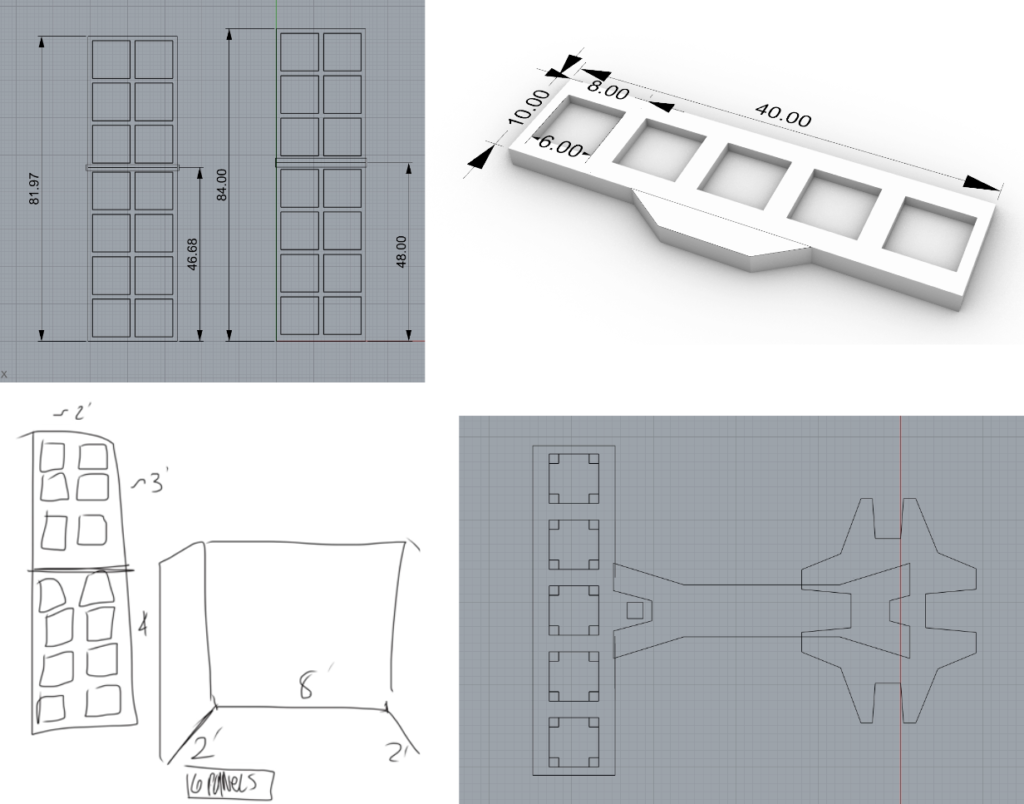
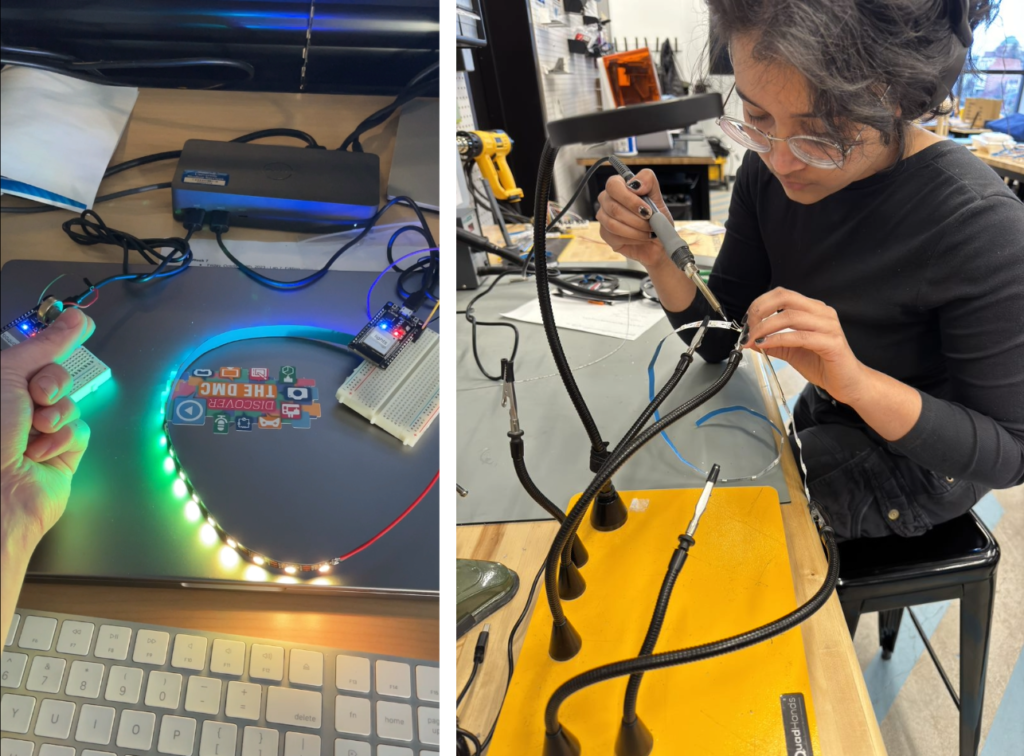
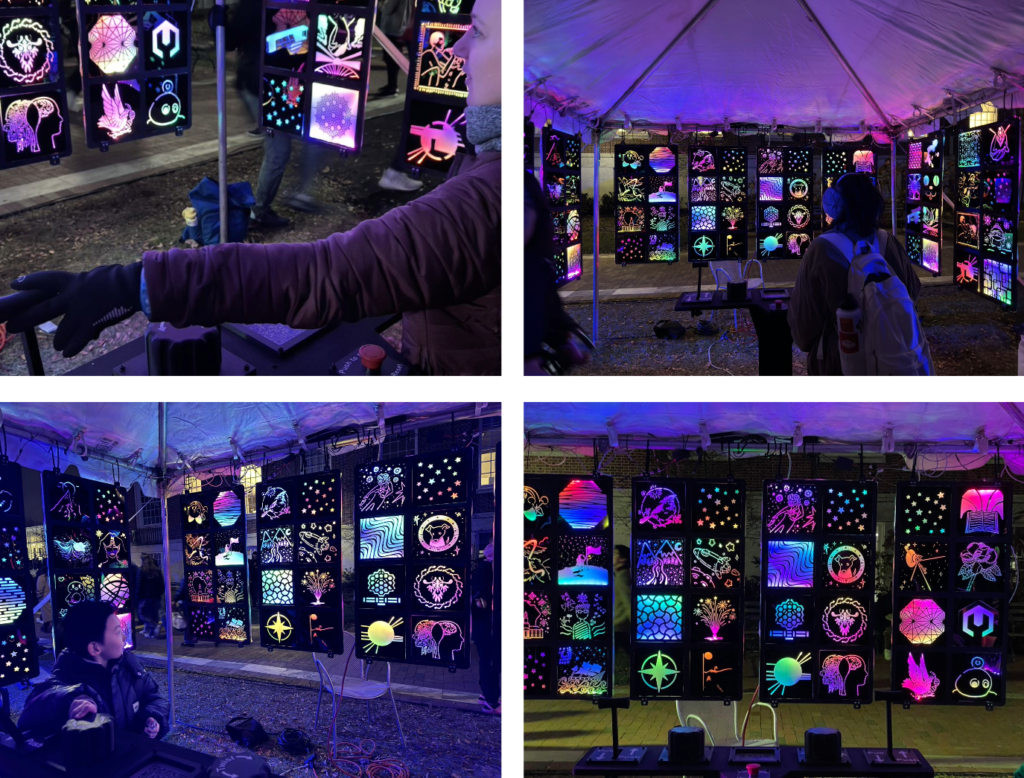
Lighting of the Quads 2023 Interactive Installation
Student Leads: Naina Gupta, Seth Jayawardane
Staff Leads: Jason Charney (DMC), Luke Ikard (Makerspace)

This year’s LOTQ collaboration between the DMC and Makerspace was an interactive booth with backlit panels drawn by JHU students, staff, and faculty! To see the list of talented artists that contributed to the project, check out the DMC website!
Throughout the entire fall semester, our team met weekly to brainstorm, design, and fabricate the installation. We decided on a theme of Discovery and Exploration, and wanted to incorporate artwork from the Hopkins community. Artwork was submitted through the DMC website from over 30 people at Hopkins! Then, after deciding on the layout of the booth, we got to work designing the hanging panels and interactive board.
In order to make the lights controlled by users, we programmed an Arduino to respond to input from our custom-built levers and dials. The lights were controlled wirelessly using a Wi-Fi channel. Moving the lever could change the speed and color of the lights.
After the design was finalized, we began fabrication of the final product. We cut the frame to hold the panels, as well as the interactive board, out of wood with our CNC router. To cut the panels with artwork, we used a laser cutter on black acrylic. The lever and dials were 3D printed. The wooden parts were painted black to create a cohesive look.
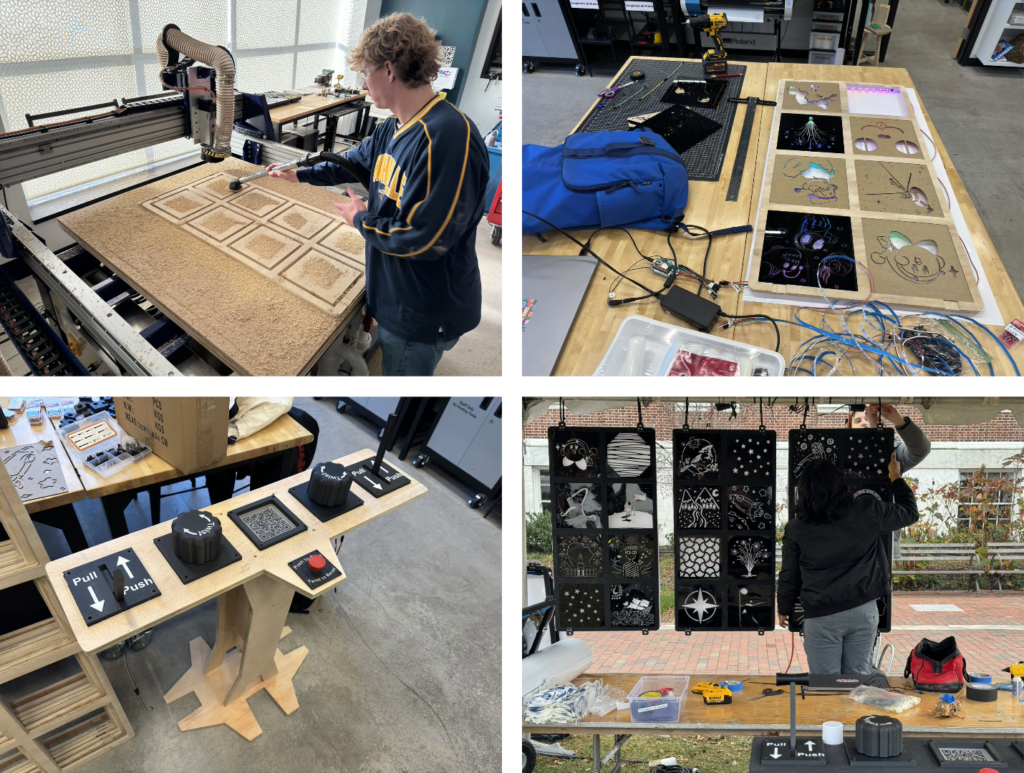
Finally, everything could be assembled together at Lighting of the Quads! The installation was a success and people had a great time customizing the light show and seeing beautiful artwork.
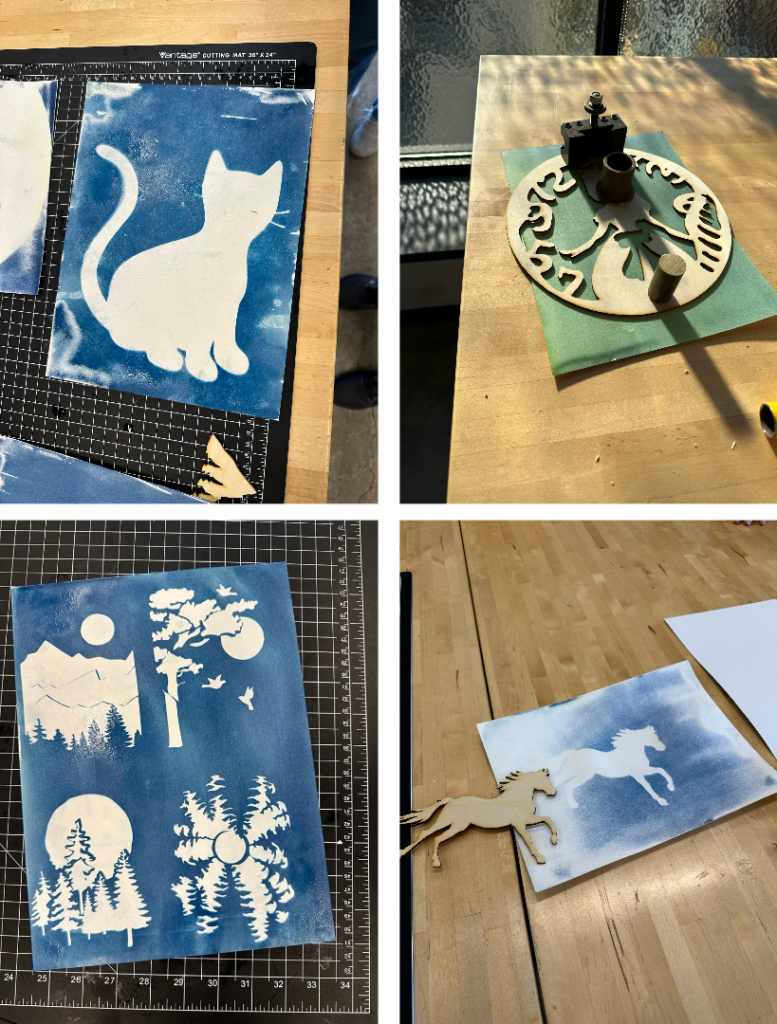
Cyanotype Workshop
Workshop led by Seth Jayawardane
In this workshop, participants learned how to make cyanotypes! Cyanotypes are made from an antique printing process that uses UV light to create an image. In fact, the original blueprints were made with the cyanotype process, and that is why they were blue!
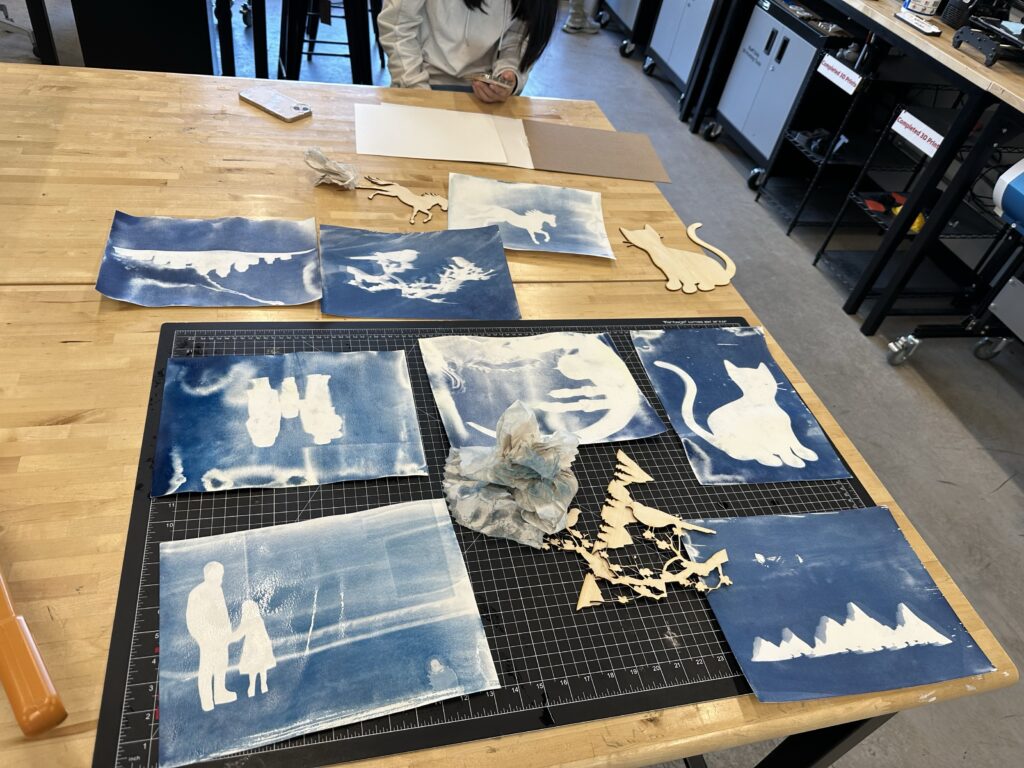
Cyanotyping works by mixing ferric ammonium citrate and potassium ferricyanide, creating a solution that becomes blue under UV light. After coating a paper in the solution and masking certain parts of the paper, an image will develop after being left in the sun. In this workshop, we used the laser cutter to create the masks. Check out some cool designs made by students!
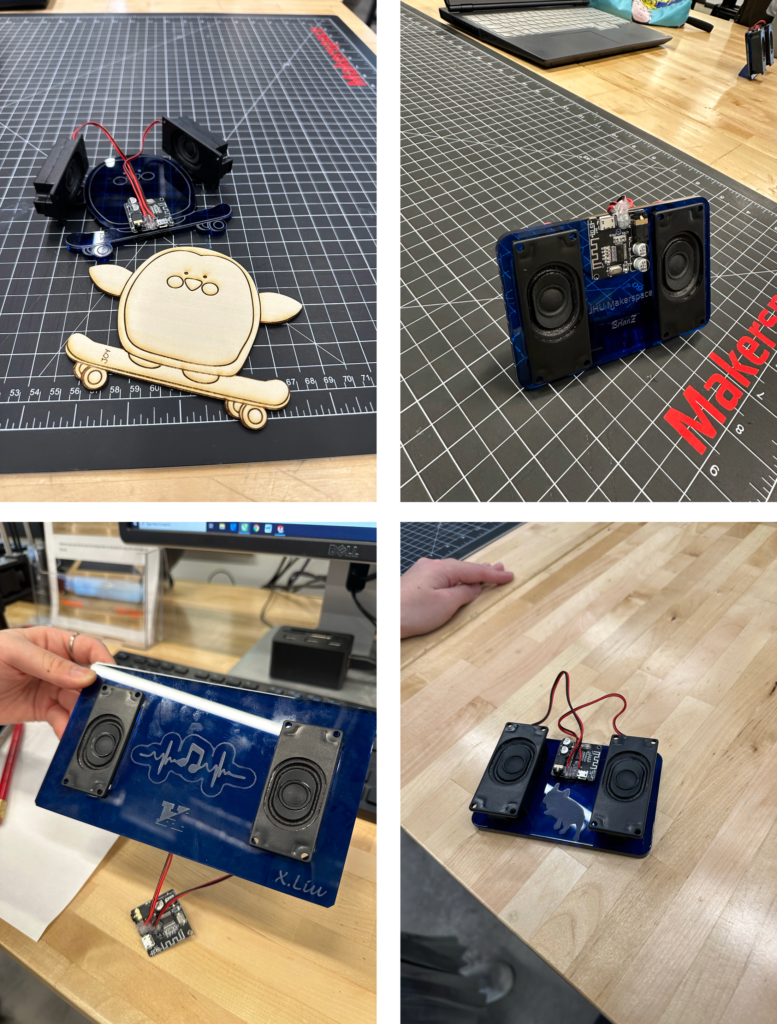
Bluetooth Speaker Workshop
Workshop led by Seth Jayawardane
In this workshop, participants were able to make their very own custom Bluetooth speaker! The electronics of the speakers were assembled at our electrical station, and to make the body of the speaker each participant laser cut a piece of acrylic with a custom design. Below are the speakers that everyone made!
Intro to Fusion 360 Workshop
Workshop led by Seth Jayawardane
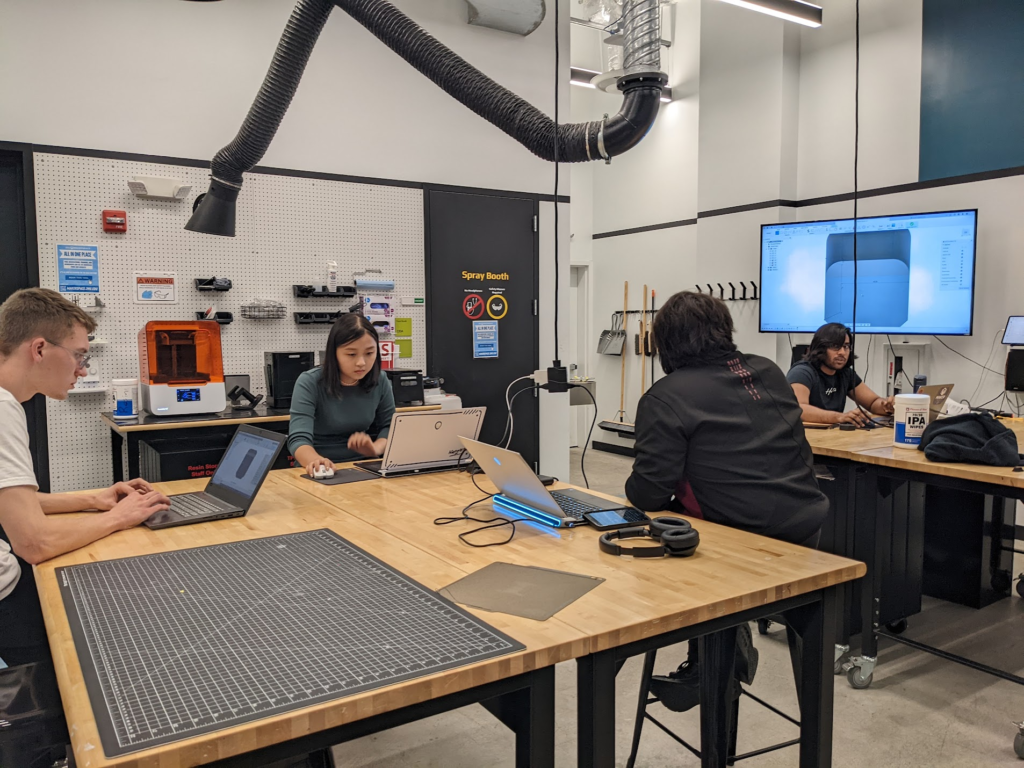
In this workshop, participants were able to learn the basics of CAD using Fusion 360, a free software for students. Each participant was able to customize a phone stand with their initials and 3D print it!

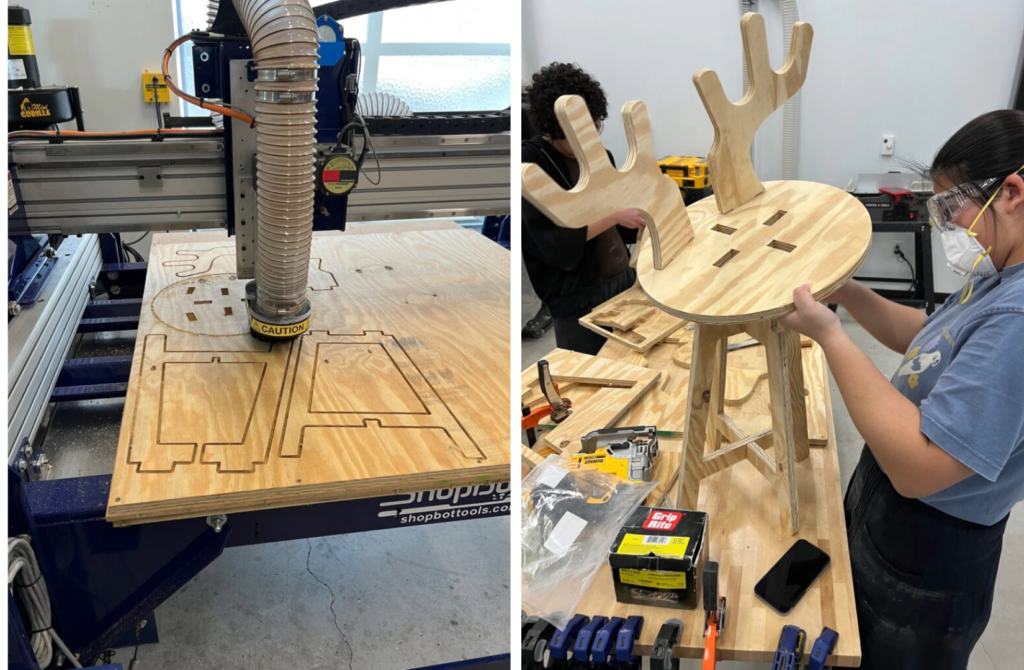
Spring Break Furniture Workshop
Workshop led by Luke Ikard and Seth Jayawardane
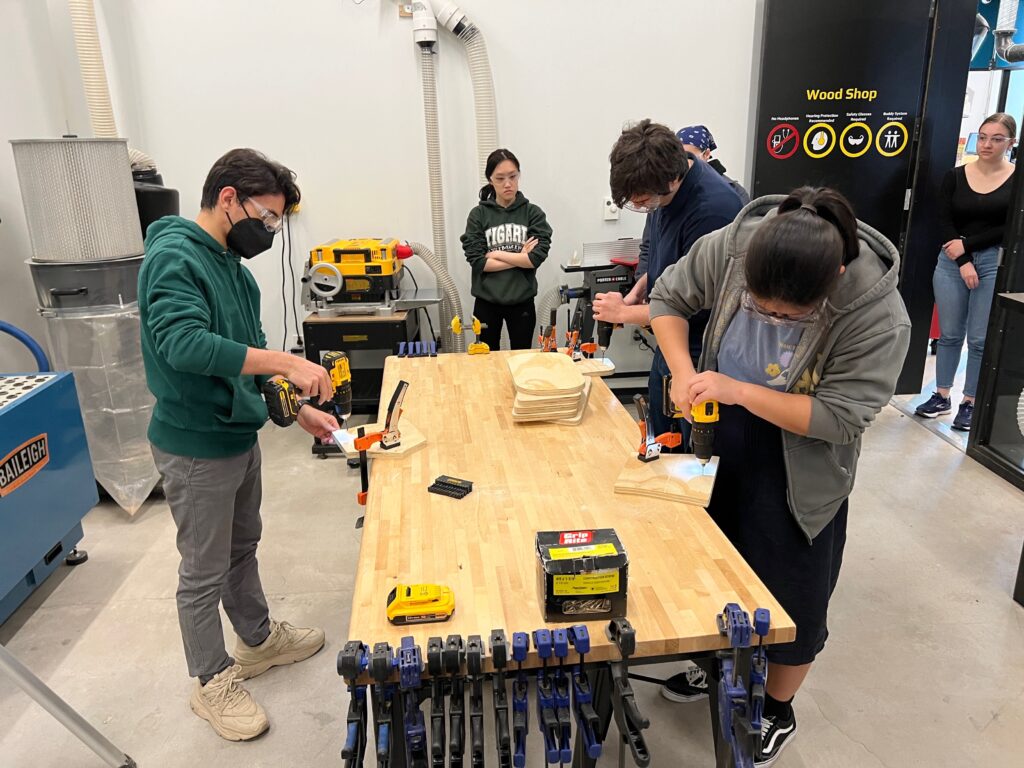
During spring break, this three-day workshop bridged the traditional craft of woodworking and modern CNC technology. Participants learned the basics of CNC routers and how to translate their idea into a cut-ready design on our CNC Shopbot router. Each workshop participant was able to take home their own fully assembled wooden stool!
Interactive Light Organ (Lighting of the Quads 2022)
Project led by Luke Ikard, Jason Charney, Seth Jayawardane, Naina Gupta, and Mac Millan
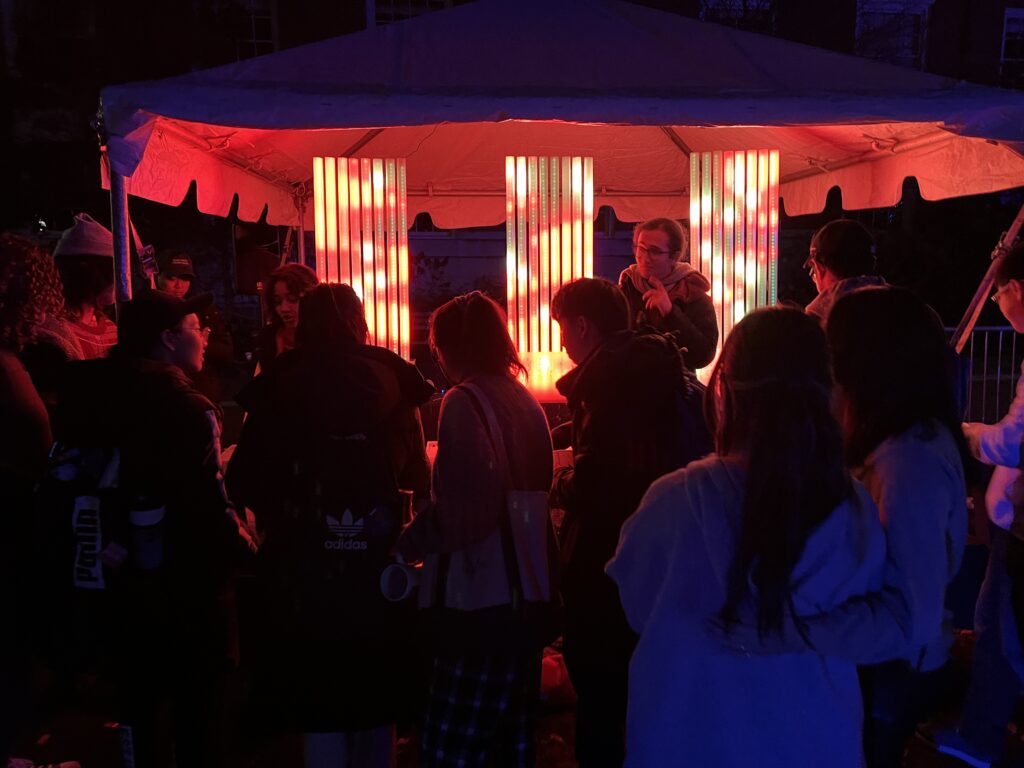
This interactive light organ was created through a collaboration between the Makerspace and the Digital Media Center, and was displayed at Lighting of the Quads and the JHU Ice Rink. Check out this article from the Hub to see more!
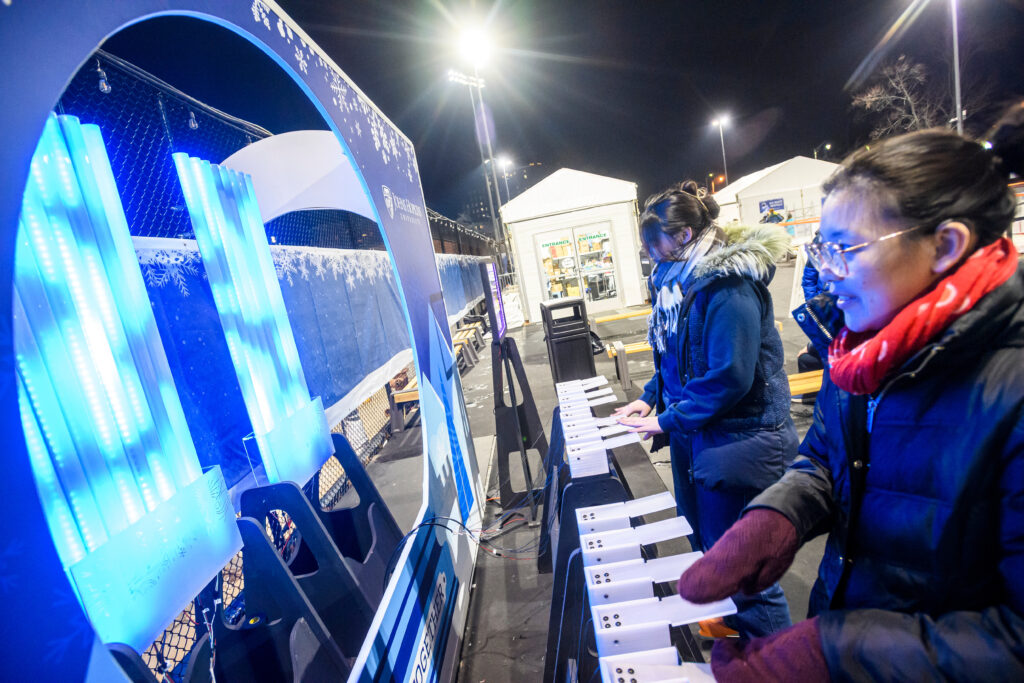
The organ consists of several tubes containing LED lights, keys to trigger the light and sound when pressed, and a computer running software that creates the changing light displays. An acrylic sign displays information about the project and its inspiration from the myth of Persephone. The keys, lights, and sign are mounted on custom wooden stands.
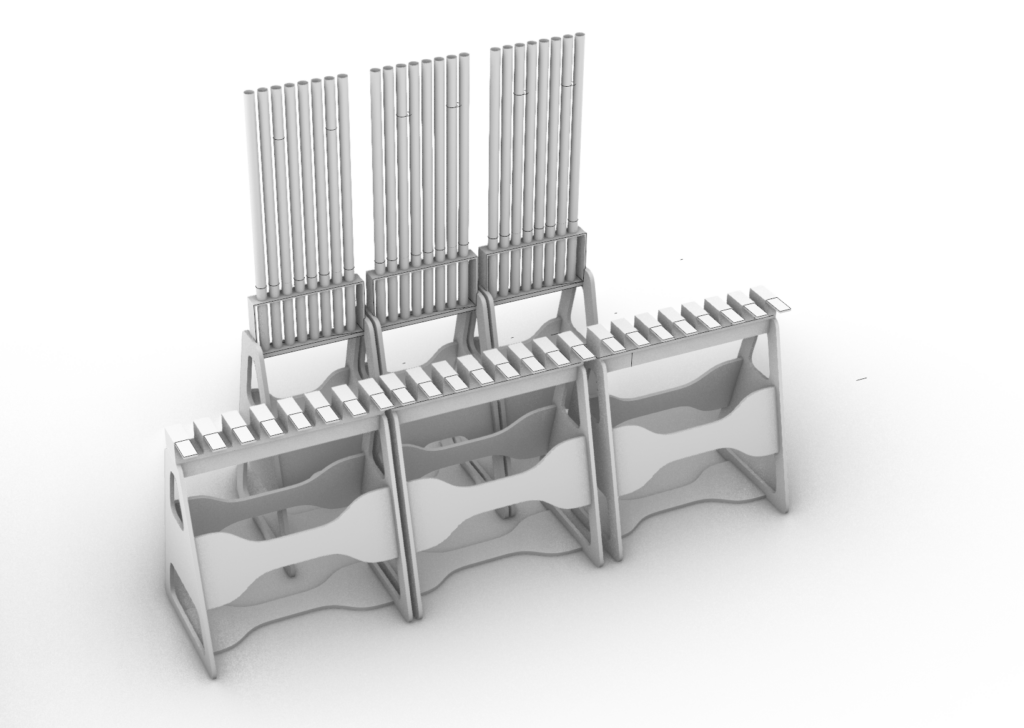

The keys contain a spring and button wired to an Arduino, which are neatly covered with a 3D printed case.
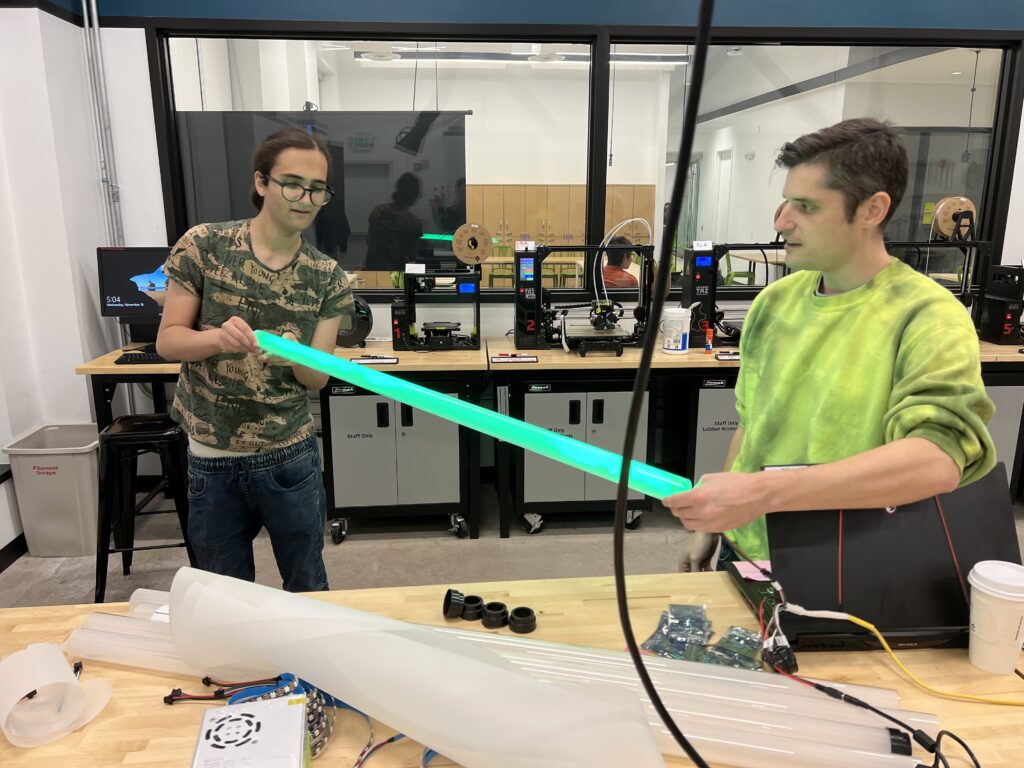
Led strips were placed inside tubes to create the light display.
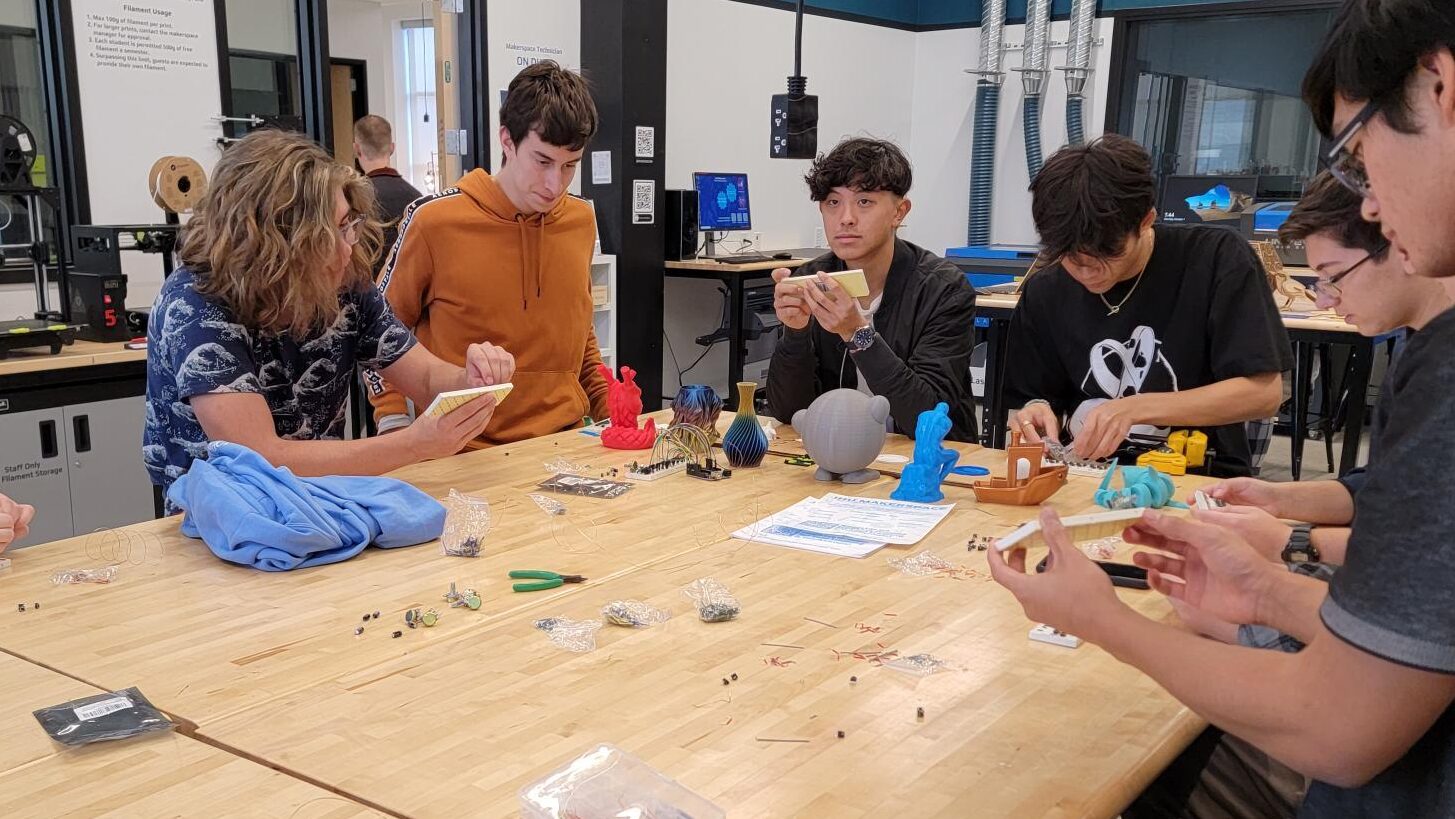
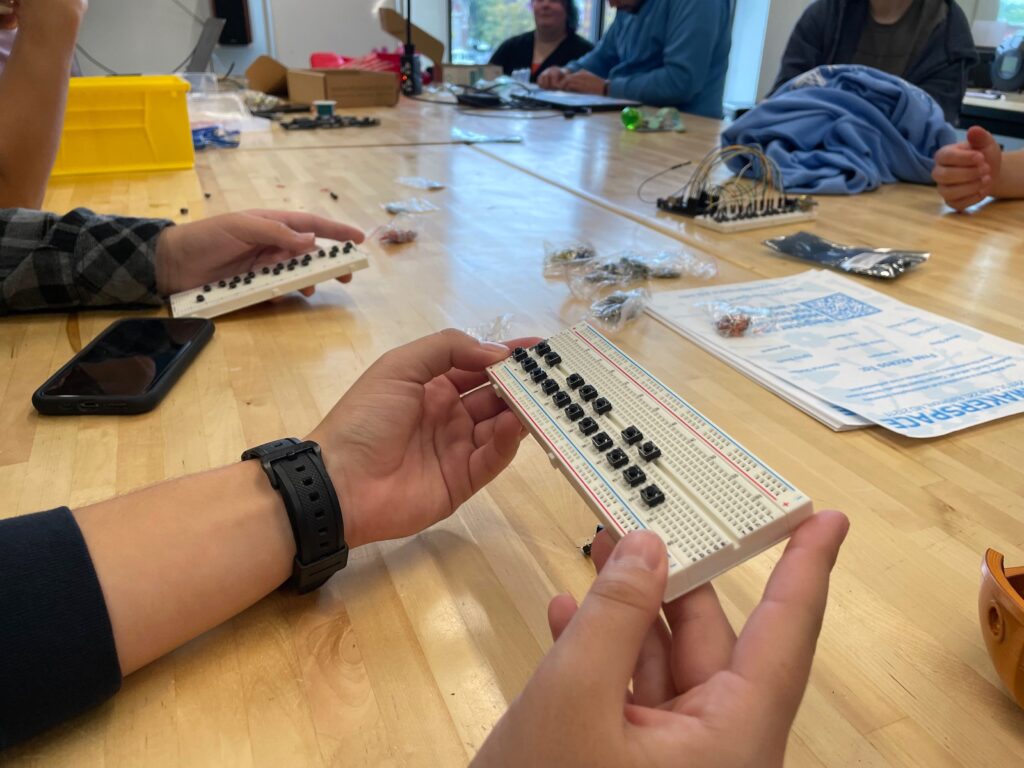
Make-a-synth
Workshop led by Seth Jayawardane
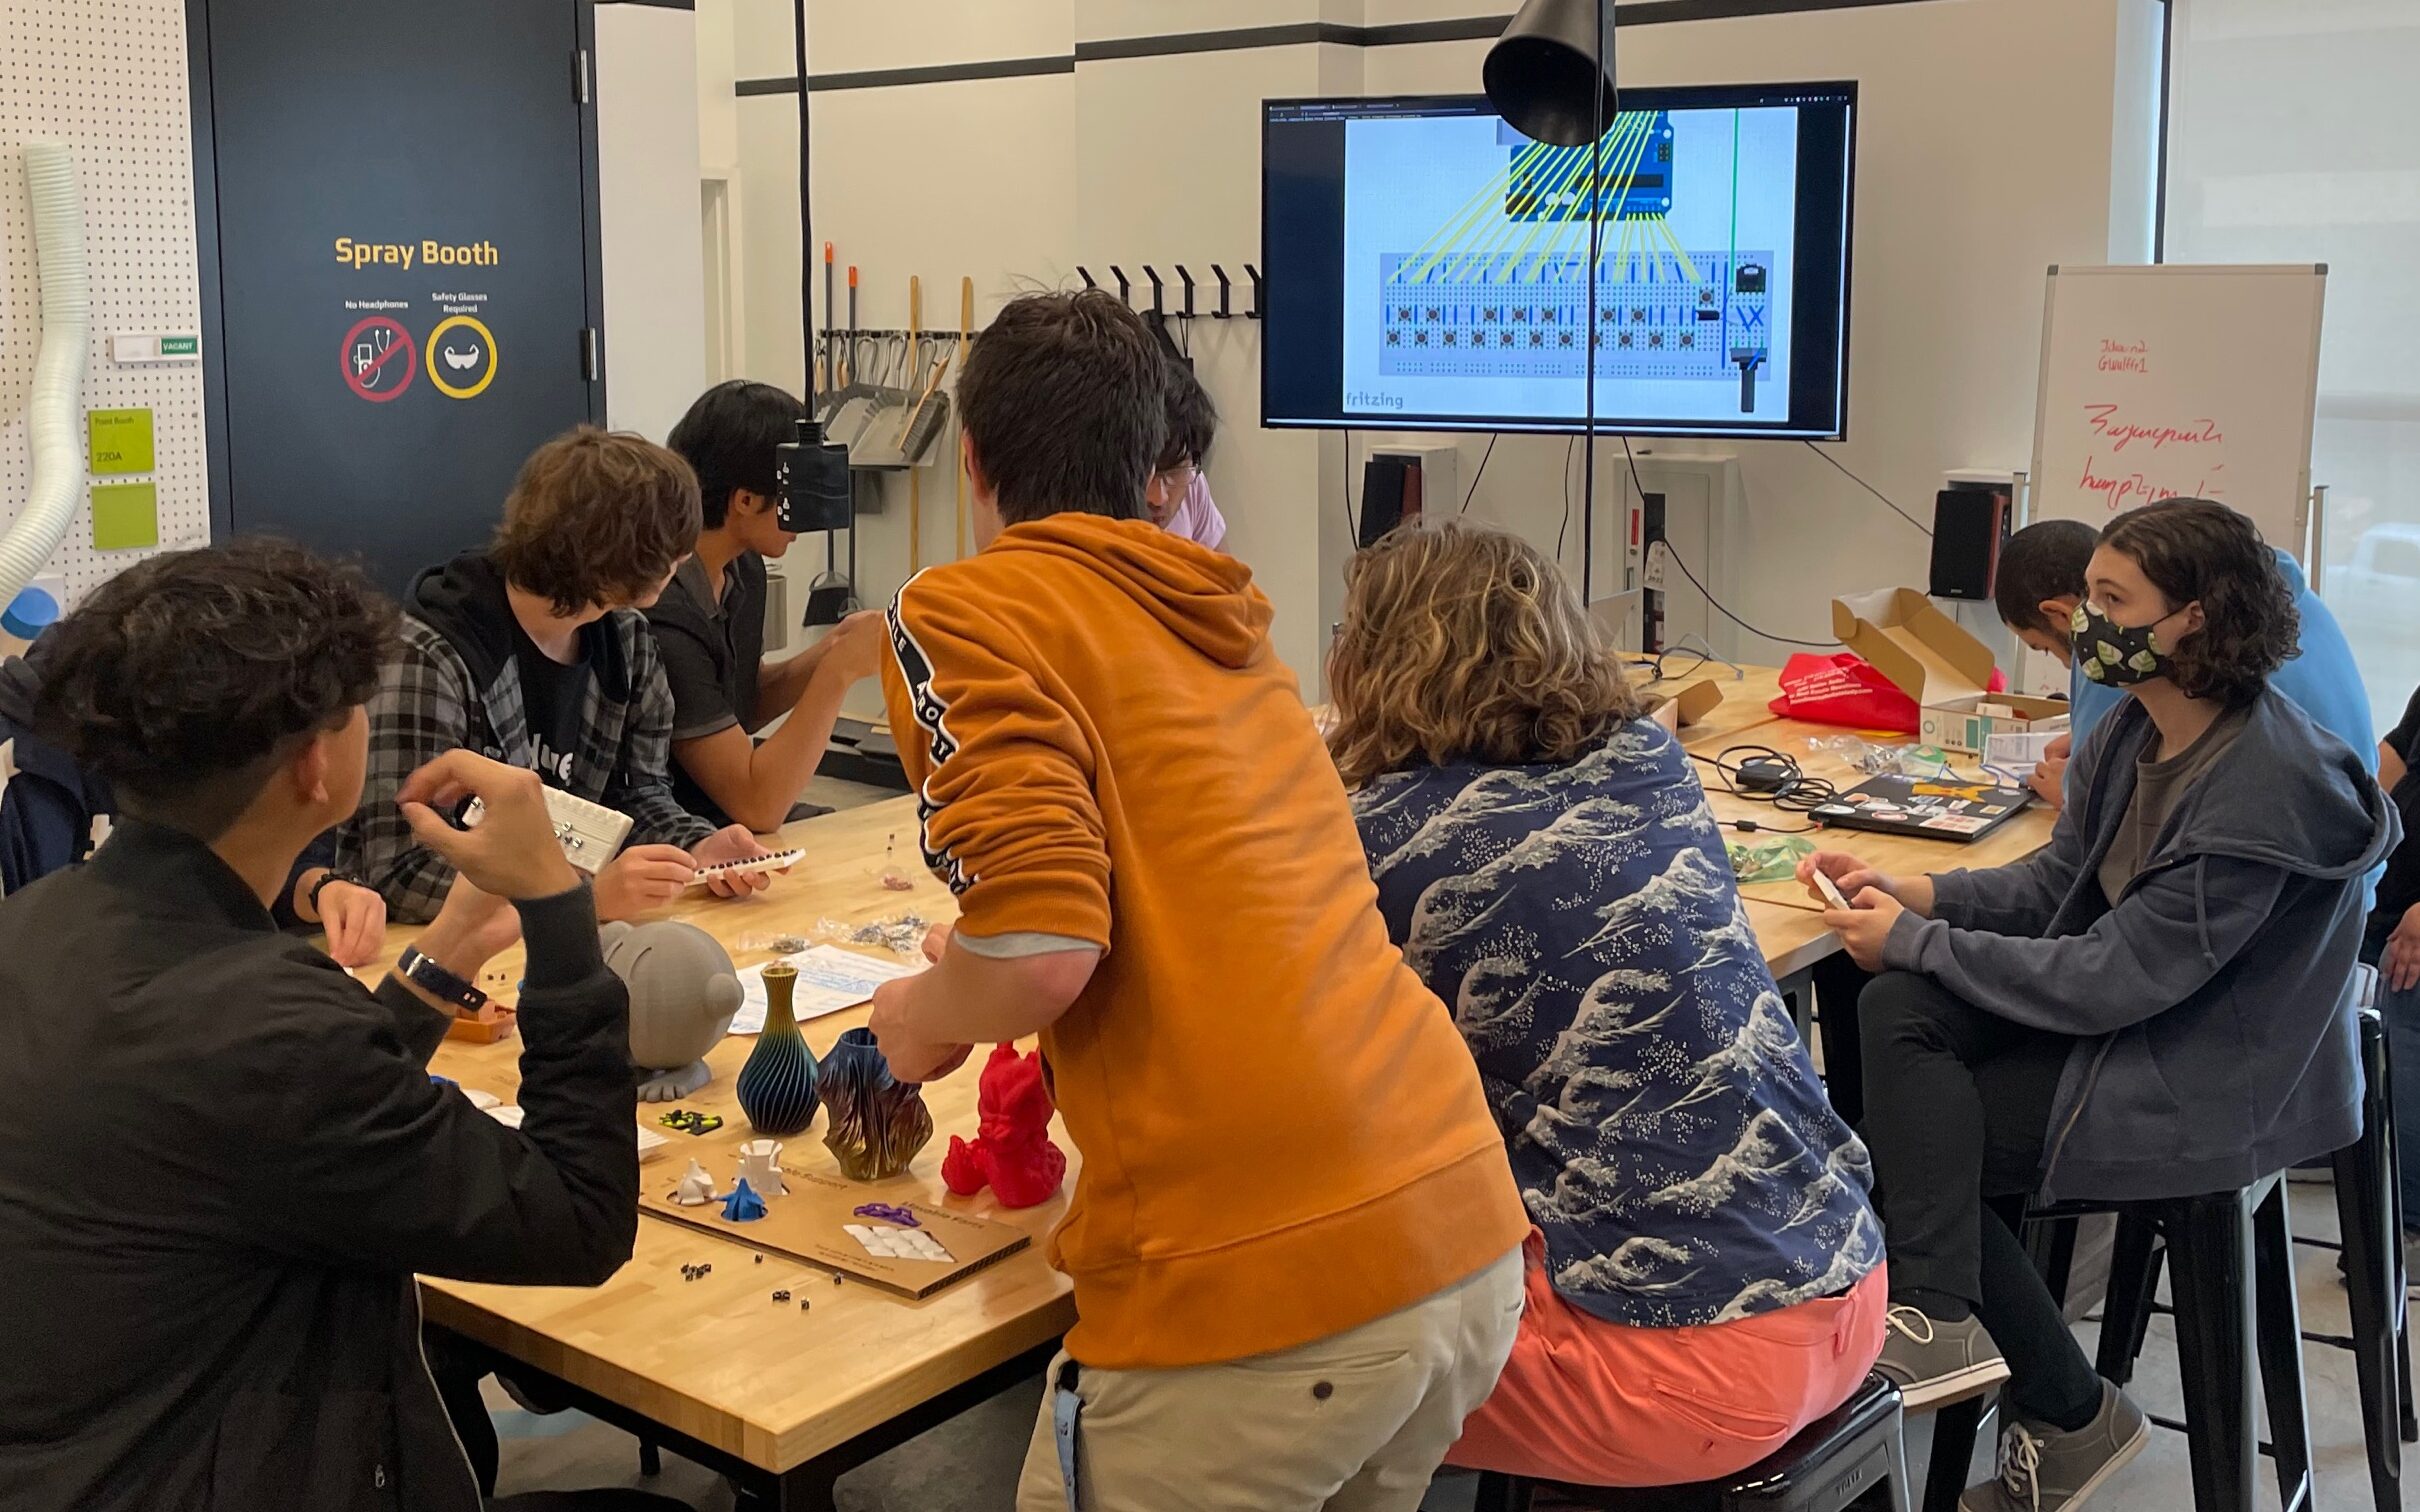
In this workshop, participants learned how a synth works on a basic level, and were able to build their own synth using an Arduino. In the end, everyone interested tried to make a short beat, and a prize in the form of free filament was offered to whoever came up with the best beat!
Puzzling
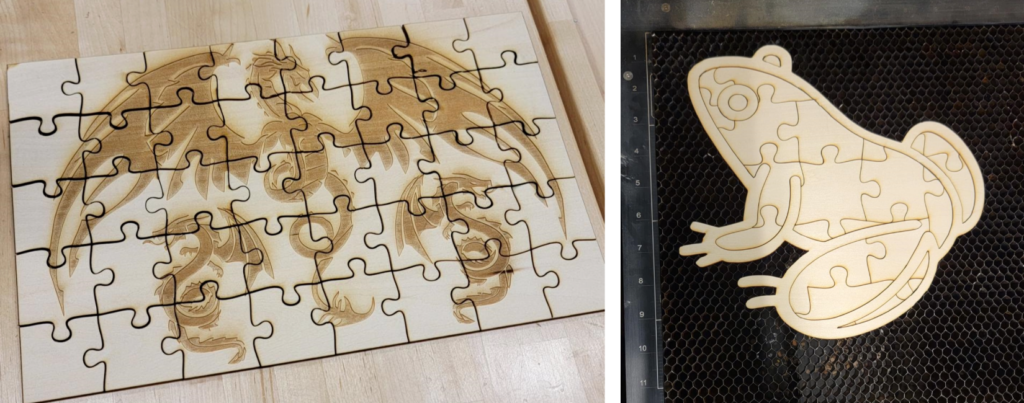
Workshop led by Seth Jayawardane
In this workshop, we showed students how to make their jigsaw puzzle using freely available online generators and cut the pieces out using our laser cutters. We had a great turnout and had a blast seeing all the cool puzzles everyone came up with. Take a look at some of the puzzles made by Makerspace users!
LED Sign
Project by Marcus Montisano
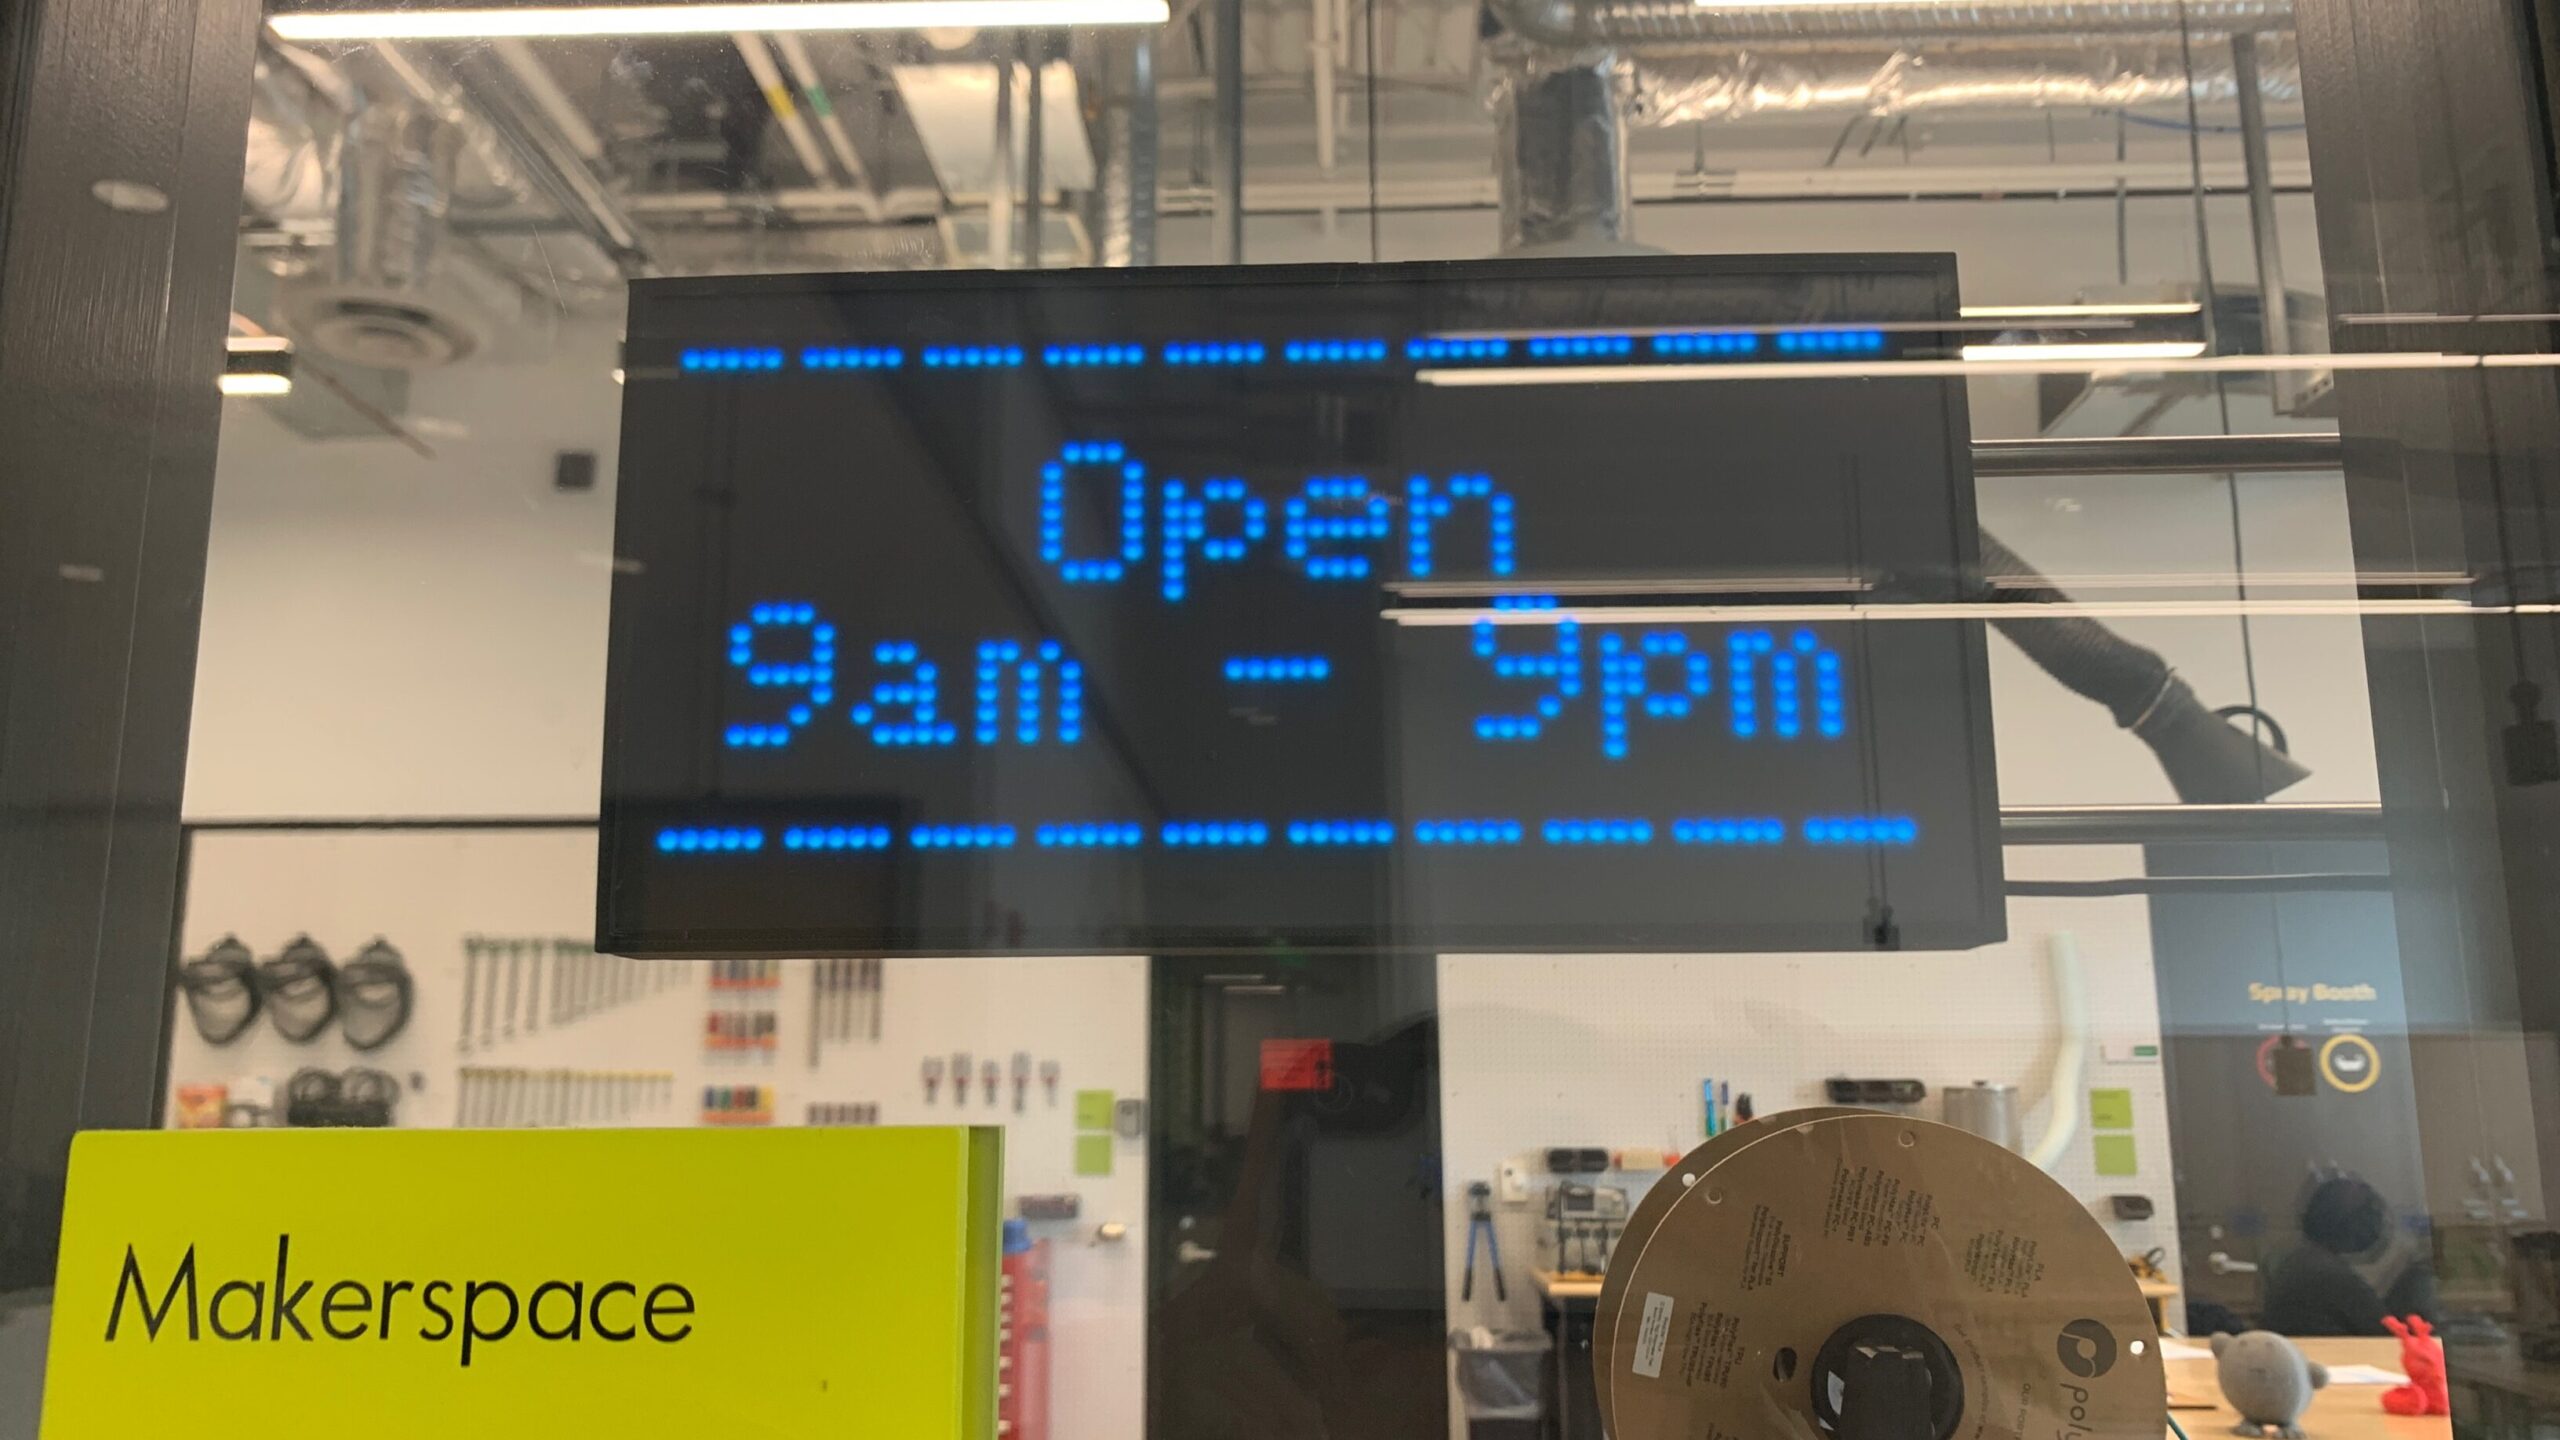
This project uses a custom Stream Deck plugin to communicate directly with the Adafruit IO REST API. It works by posting a specific value to a feed and each button will post a different value to the feed allowing you to easily change messages.
The message panel itself is driven by the Metro M4 Express Airlift Lite. It will connect to local WiFi and read the value of the message straight from your feed. It even allows some basic formatting such as color and text size. The feed values are limited to 50 characters, so the more formatting you apply, the less text you can show. Fortunately, the message panel can hold a maximum of 40 characters.
Parts:
Adafruit Metro M4 Airlift Lite dev board with SAMD51 and ESP32 Wifi Co-processor.
Adafruit RGB Matrix Shield for Arduino connected to an LED Matrix
64×32 RGB LED Matrix – 4mm pitch
5V 4A switching power supply brick with figure 8 power port.
50 Brass Heat-Set Inserts for Plastic – M3 x 3mm.
4 M3 x 6mm Screws
For more details, check out this website for a detailed guide!
Wireless mechanical keyboard
Project by Xudong Zheng
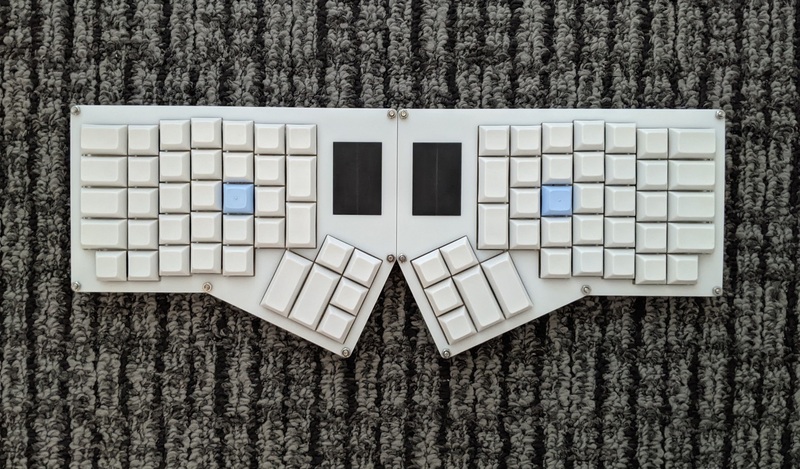
Xudong was able to use the laser cutter to create his ErgoBlue, a Split Wireless ErgoDox Mechanical Keyboard. For more information on this project check out his website: https://www.xudongz.com/blog/2019/ergoblue/
Benchtop Power Supply Enclosure
Project by Gavin Granath
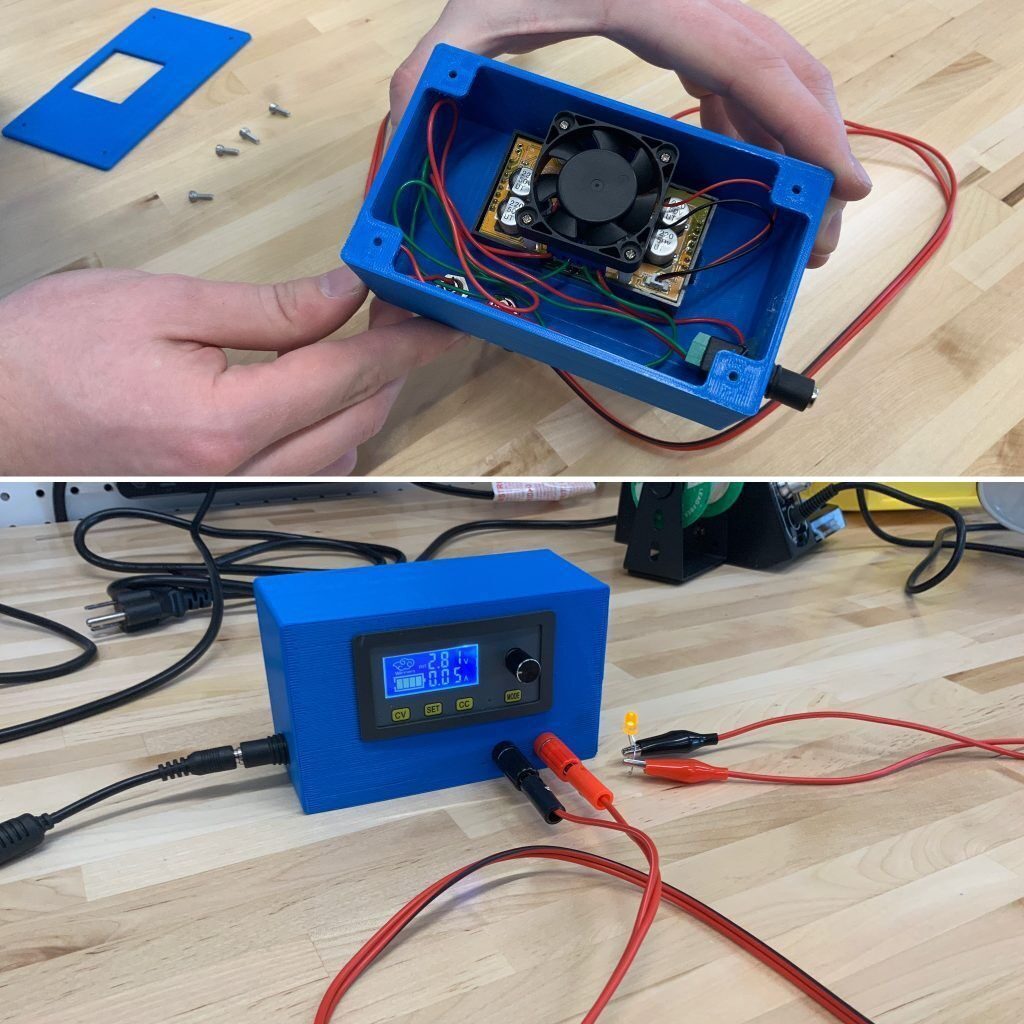
Gavin was able to purchase an inexpensive DC power supply from Ebay, and then design and print his enclosure in the Makerspace. With accurate voltage and amperage control, benchtop power supplies make it easy to test and prototype electrical components.
Materials (Total cost about $40):
Adjustable 5A Step-Down Buck LCD Digital Power Supply Module 6V-32V to 0-32V USA https://ebay.us/n1pBDIPower Supply Case STL FilesDownload
AC to DC Power Adapter with an output of DC 12V and 5A max
Panel Mount Banana Plug Female Socket
Banana Plug to Alligator Test Lead
Enclosure Machine Screws M2.5 x 10